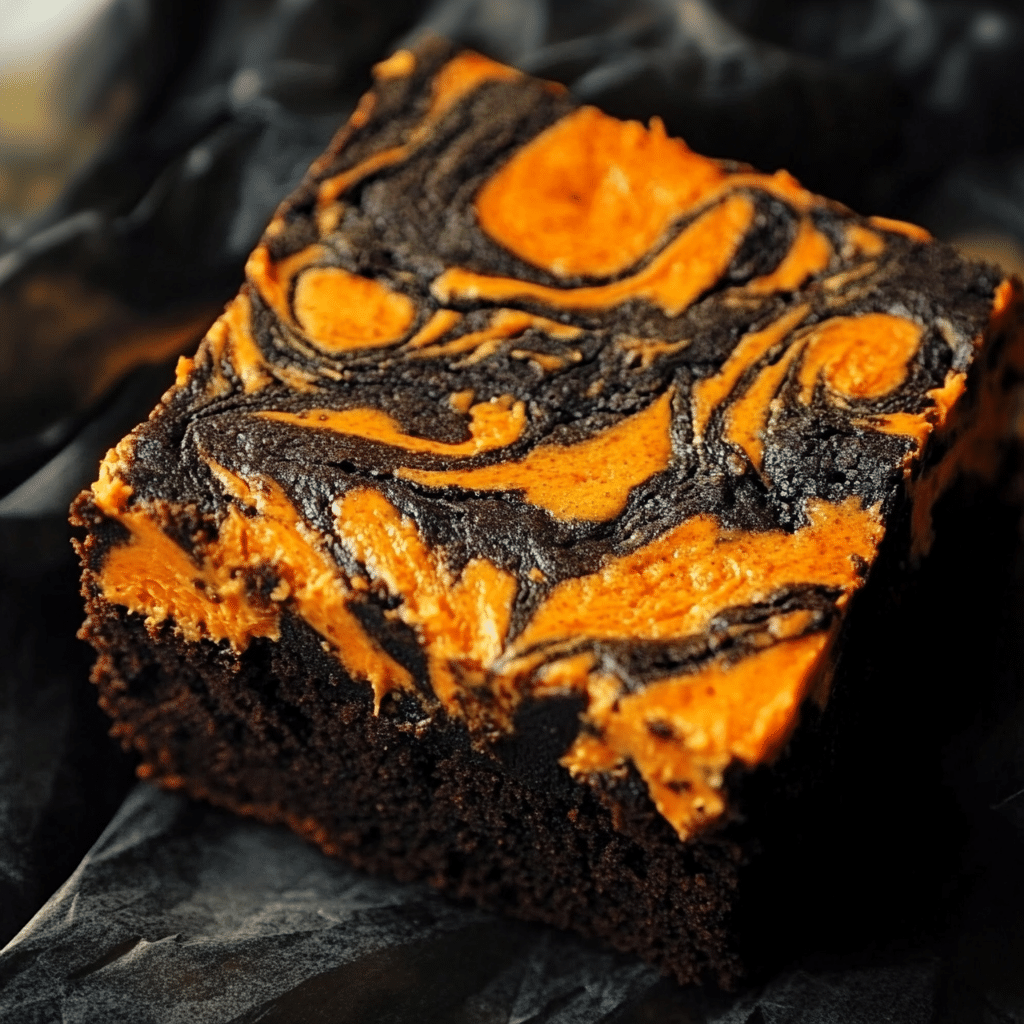
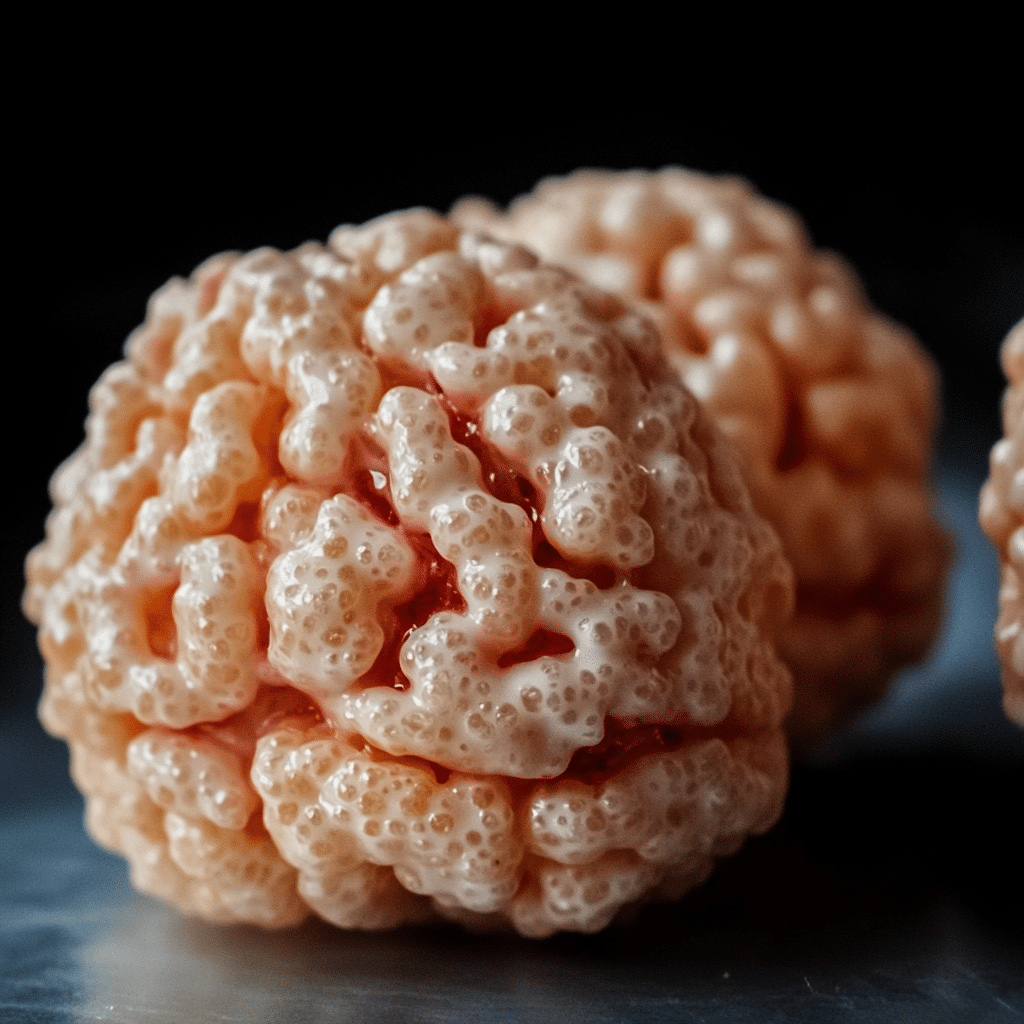
Halloween is the perfect time to get creative with your baking, and nothing says festive quite like a Spooky Black Velvet Cake. This cake is dark, rich, and oh-so-delicious, with a soft, velvety texture that practically melts in your mouth. It’s a twist on the classic red velvet cake, but with a Halloween spin—deep black layers of cake and a striking orange frosting that’s as eye-catching as it is delicious.
This cake isn’t just about looks, though. Black velvet cake has all the flavor and moisture of traditional velvet cake, with a subtle hint of chocolate, balanced by the tang of buttermilk. The combination of cocoa powder, black food coloring, and the fluffiest cream cheese frosting makes it perfect for Halloween celebrations. Whether you’re throwing a spooky party, making treats for trick-or-treaters, or just want a wickedly fun dessert, this cake is sure to impress.
Plus, I’ve got some easy tips to help you achieve that perfect deep-black color without affecting the cake’s flavor, along with creative decorating ideas to really amp up the spooky factor.
Let’s dive into how to make this ultimate Halloween cake, step by step!
Why You’ll Love This Spooky Black Velvet Cake
- Eerily Beautiful: This cake’s black layers contrasted with the bright orange frosting make it a Halloween showstopper.
- Velvety Texture: Just like traditional velvet cake, this black velvet version is soft, moist, and tender with a smooth crumb.
- Easy to Decorate: Even if you’re not a cake-decorating expert, this cake can be easily dressed up with Halloween-themed decorations like spooky sprinkles, candy eyes, or even a simple spiderweb pattern.
- Rich Flavor: The combination of cocoa and buttermilk gives the cake a deep, slightly tangy flavor that pairs perfectly with cream cheese frosting.
- Perfect for Halloween Parties: It’s fun, festive, and makes for a great conversation piece at any gathering.
Preparation Time and Servings
- Total Time: 1 hour 30 minutes (including baking and decorating time)
- Active Prep Time: 40 minutes
- Servings: 12-14 slices
- Calories per serving: Approximately 480 calories (depending on frosting and decoration)
Ingredients
For the Black Velvet Cake:
- 2 ½ cups all-purpose flour
- 2 cups granulated sugar
- 1 cup buttermilk, room temperature
- 1 ½ teaspoons baking soda
- 1 teaspoon baking powder
- 1 teaspoon salt
- 3 tablespoons unsweetened cocoa powder (Dutch-processed for a richer color)
- 1 cup vegetable oil
- 2 large eggs, room temperature
- 1 tablespoon white vinegar
- 2 teaspoons vanilla extract
- 1 tablespoon black gel food coloring (gel is best for vibrant, deep color)
- ½ teaspoon espresso powder (optional, enhances the chocolate flavor)
For the Orange Cream Cheese Frosting:
- 1 cup unsalted butter, softened
- 16 oz cream cheese, softened
- 6 cups powdered sugar, sifted
- 1 teaspoon vanilla extract
- Orange food coloring (gel works best)
- 2-3 tablespoons milk or heavy cream (as needed for consistency)
For Decoration:
- Halloween-themed sprinkles (black, orange, purple, and green)
- Edible candy eyes
- Black and orange candies or sugar skulls
- Black or orange gel icing for writing or drawing spooky designs
Step-by-Step Instructions
Step 1: Prepare the Cake Batter
- Preheat the Oven: Preheat your oven to 350°F (175°C). Grease and line three 8-inch round cake pans with parchment paper to ensure the cakes come out easily.
- Mix the Dry Ingredients: In a large bowl, sift together the flour, cocoa powder, baking soda, baking powder, and salt. Set aside.
- Combine Wet Ingredients: In another large bowl or stand mixer, whisk together the sugar, vegetable oil, and eggs until light and well combined. Add the vanilla extract, buttermilk, and white vinegar, continuing to mix until smooth.
- Add Food Coloring: Add the black gel food coloring to the wet ingredients and stir until the mixture turns a deep black. You may need to adjust the amount of food coloring depending on your desired darkness. Start with a tablespoon and add more as needed.
- Combine Wet and Dry Ingredients: Gradually add the dry ingredients to the wet ingredients, mixing on low speed until just combined. Be careful not to overmix—the batter should be smooth but not overworked.
- Optional Espresso Powder: For a richer chocolate flavor, stir in ½ teaspoon of espresso powder. It won’t taste like coffee, but it will enhance the depth of the cocoa.
Step 2: Bake the Cake Layers
- Divide and Bake: Divide the cake batter evenly among the three prepared cake pans. Smooth the tops with a spatula to ensure an even rise.
- Bake: Bake for 25-30 minutes, or until a toothpick inserted into the center of the cakes comes out clean. The cakes should spring back when gently pressed.
- Cool: Let the cakes cool in the pans for about 10 minutes before transferring them to a wire rack to cool completely. It’s important to wait until the cakes are fully cooled before frosting.
Step 3: Prepare the Orange Cream Cheese Frosting
- Beat the Butter and Cream Cheese: In a large mixing bowl, beat the softened butter and cream cheese together until light and fluffy—about 2-3 minutes. Make sure both are fully softened to avoid any lumps in your frosting.
- Add Powdered Sugar: Gradually add the sifted powdered sugar, 1 cup at a time, beating on low speed until fully combined. Scrape down the sides of the bowl as needed.
- Add Vanilla and Food Coloring: Stir in the vanilla extract and a few drops of orange food coloring. Continue to add coloring until you reach your desired shade of Halloween orange. If the frosting is too thick, add 1 tablespoon of milk or heavy cream at a time until the frosting is smooth and spreadable.
- Whip for Texture: Beat the frosting on high for an additional 2-3 minutes to ensure it’s fluffy and creamy.
Step 4: Assemble the Cake
- Level the Cakes: If the cakes have domed tops, use a serrated knife to level them off, ensuring a flat, even surface for stacking.
- Frost the Layers: Place one layer of black velvet cake on a cake stand or serving plate. Spread a generous amount of orange cream cheese frosting on top. Repeat with the second and third layers, stacking them as you go.
- Crumb Coat: Apply a thin layer of frosting over the entire cake to create a “crumb coat.” This will lock in any loose crumbs and ensure a smooth final layer of frosting. Refrigerate the cake for about 20 minutes to allow the crumb coat to set.
- Final Frosting Layer: Once the crumb coat has set, apply a thicker, even layer of orange cream cheese frosting around the cake using an offset spatula. Smooth the top and sides for a polished look.
Step 5: Decorate Your Spooky Black Velvet Cake
- Add Sprinkles: Before the frosting sets, add your Halloween-themed sprinkles around the base and sides of the cake. You can also sprinkle some on the top for a festive touch.
- Candy Eyes and Decorations: Place edible candy eyes randomly around the cake to create a spooky vibe, or arrange them in pairs to look like little monsters peeking out. Black or orange gel icing is perfect for drawing cobwebs, spiders, or even writing “Boo!” on the top of the cake.
- Get Creative: For an extra eerie touch, pipe black gel icing in a spiderweb pattern across the top, or add Halloween-themed candy like bats, ghosts, or pumpkins. You can even place plastic spiders or bats (clean and food-safe, of course) for a more dramatic, spooky presentation.
How to Serve
This Spooky Black Velvet Cake is a real showstopper and deserves a spot at the center of your Halloween dessert table. Here are a few fun ways to serve and present it:
- Halloween Party Centerpiece: Place the cake on a black cake stand and surround it with spooky décor like plastic spiders, mini pumpkins, and flickering candles for an eerie effect.
- Serve with a Scoop of Ice Cream: For an even more decadent treat, serve each slice with a scoop of vanilla ice cream or a dollop of whipped cream.
- Paired with Hot Beverages: A warm mug of spiced apple cider or hot chocolate complements the rich flavor of the cake and makes for a cozy Halloween dessert pairing.
Additional Tips for Success
- Use Gel Food Coloring: Gel food coloring is more concentrated than liquid food coloring, allowing you to achieve a deep black color without affecting the texture or taste of the cake.
- Chill the Cake for Easy Frosting: After assembling and crumb-coating the cake, chilling it for 20-30 minutes will make it easier to apply the final layer of frosting and give you a smoother finish.
- Room Temperature Ingredients: For the fluffiest frosting and the best cake texture, make sure your butter, cream cheese, eggs, and buttermilk are all at room temperature before you begin.
- Don’t Overmix: Overmixing your cake batter can lead to a dense or tough cake. Mix just until the ingredients are combined for a tender, moist crumb.
- Black Cocoa Option: If you want an even deeper black color without relying on food coloring, you can substitute part of the cocoa powder with black cocoa. It’s a special type of cocoa that’s extra dark and gives a more intense color and flavor.
Recipe Variations
- Spiderweb Cake: Instead of solid orange frosting, create a spiderweb design by drizzling melted chocolate or black icing in a web pattern on the top of the cake.
- Pumpkin Spice Black Velvet Cake: Add 1 teaspoon of pumpkin pie spice to the cake batter and replace the buttermilk with pumpkin puree for a festive fall twist.
- Gluten-Free Option: Substitute the all-purpose flour with a gluten-free flour blend to make this cake gluten-free. Ensure the rest of your ingredients are gluten-free too, including the sprinkles and decorations.
- Cupcake Version: Turn this cake into cupcakes by dividing the batter into lined cupcake tins. Bake for 18-20 minutes, then frost with the orange cream cheese frosting and decorate as you wish.
Freezing and Storage
To Store: The cake can be stored in an airtight container at room temperature for 1-2 days or in the refrigerator for up to 5 days. Just make sure it’s well covered to keep the frosting fresh and the cake moist.
To Freeze: You can freeze the unfrosted cake layers by wrapping them tightly in plastic wrap and placing them in a freezer-safe bag. They’ll keep in the freezer for up to 2 months. When you’re ready to assemble, simply thaw the layers at room temperature, then frost and decorate.
FAQ Section
Q: Can I make this cake without food coloring?
A: Yes, you can skip the food coloring if you prefer a more natural look. The cake will still have a rich chocolate flavor, but it will be more of a dark brown rather than black.
Q: How do I prevent my cake from being too dense?
A: Be careful not to overmix the batter, as this can lead to a denser cake. Also, make sure your baking soda and baking powder are fresh for the best rise.
Q: Can I use regular cream cheese frosting instead of orange?
A: Absolutely! If you prefer a more classic look, you can keep the cream cheese frosting white or use any color you like.
Q: Can I use a different frosting?
A: Yes! While cream cheese frosting complements the flavor of velvet cakes, you could also use a buttercream or even a chocolate frosting for a different take.
Q: Can I make this cake ahead of time?
A: Yes, you can make the cake layers a day in advance. Store them in an airtight container or wrap them tightly and refrigerate. Assemble and frost the cake the day of your event for the freshest results.
Conclusion
This Spooky Black Velvet Halloween Cake is the perfect dessert to add some eerie elegance to your Halloween celebrations. With its deep, black velvet layers and bright orange cream cheese frosting, it’s a visual masterpiece that tastes as good as it looks. Whether you’re baking for a party or just want a fun project for the holiday, this cake is sure to be a hit. Don’t forget to snap some pictures and share your spooky creation! Happy Halloween, and happy baking! 🎃
Print
Spooky Black Velvet Halloween Cake
- Total Time: 1 hour 5 minutes
Description
This Spooky Black Velvet Halloween Cake is a delightful twist on a classic favorite. Its rich, velvety texture and deep black color make it the perfect centerpiece for your Halloween celebrations. Topped with creamy frosting and festive decorations, this cake is sure to impress family and friends alike!
Ingredients
- 2 ½ cups all-purpose flour
- 1 ½ cups granulated sugar
- 1 cup unsweetened cocoa powder
- 1 ½ teaspoons baking soda
- 1 teaspoon baking powder
- 1 teaspoon salt
- 2 large eggs
- 1 cup buttermilk, room temperature
- 1 cup vegetable oil
- 1 tablespoon vanilla extract
- 1 cup boiling water
- 2 teaspoons black gel food coloring
For the Frosting:
- 1 cup unsalted butter, softened
- 4 cups powdered sugar
- ½ cup unsweetened cocoa powder
- ½ cup heavy cream
- 1 teaspoon vanilla extract
- 1 teaspoon black gel food coloring (optional)
Instructions
- Preheat your oven to 350°F (175°C). Grease and flour two 9-inch round cake pans.
- In a large bowl, whisk together the flour, sugar, cocoa powder, baking soda, baking powder, and salt.
- In another bowl, mix the eggs, buttermilk, vegetable oil, and vanilla extract. Stir in boiling water and black gel food coloring.
- Gradually add the wet ingredients to the dry ingredients, mixing until just combined.
- Divide the batter evenly between the prepared pans and bake for 30-35 minutes, or until a toothpick comes out clean.
- Let the cakes cool for 10 minutes in the pans, then transfer to wire racks to cool completely.
- For the frosting, beat the butter until creamy, then gradually add powdered sugar and cocoa powder, alternating with heavy cream. Mix in vanilla and black food coloring.
- Once cool, layer the cakes with frosting and frost the top and sides. Decorate as desired.
- Prep Time: 30
- Cook Time: 35
Nutrition
- Serving Size: 12
- Calories: 350


