Introduction
There’s something about holiday treats that just makes everything feel a little bit brighter, a little bit warmer. And when it comes to festive desserts, Little Debbie Christmas Tree Cakes have a special place in my heart. They’re fun, nostalgic, and honestly, who doesn’t love the little sugary, fluffy magic they bring? But imagine taking those delightful Little Debbie cakes and transforming them into a rich, creamy cheesecake—seriously, it’s a game-changer.
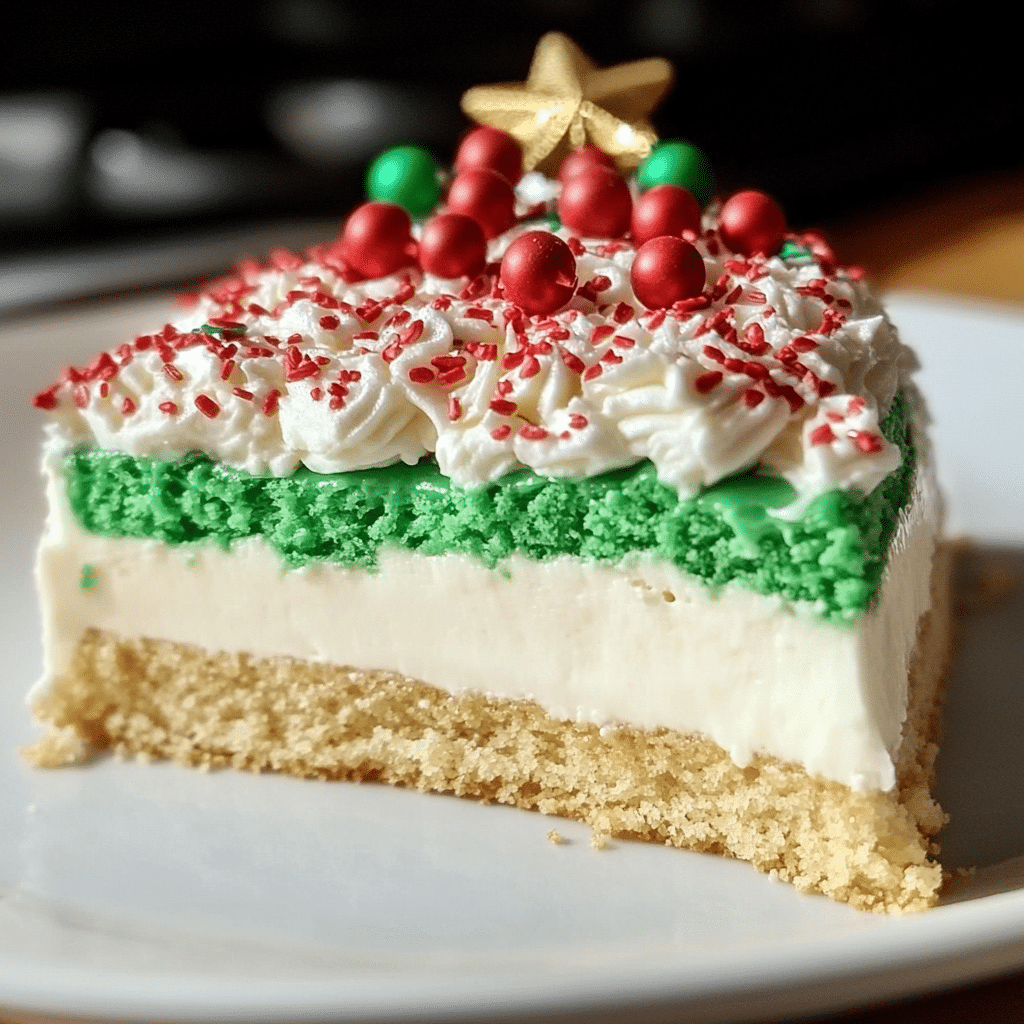
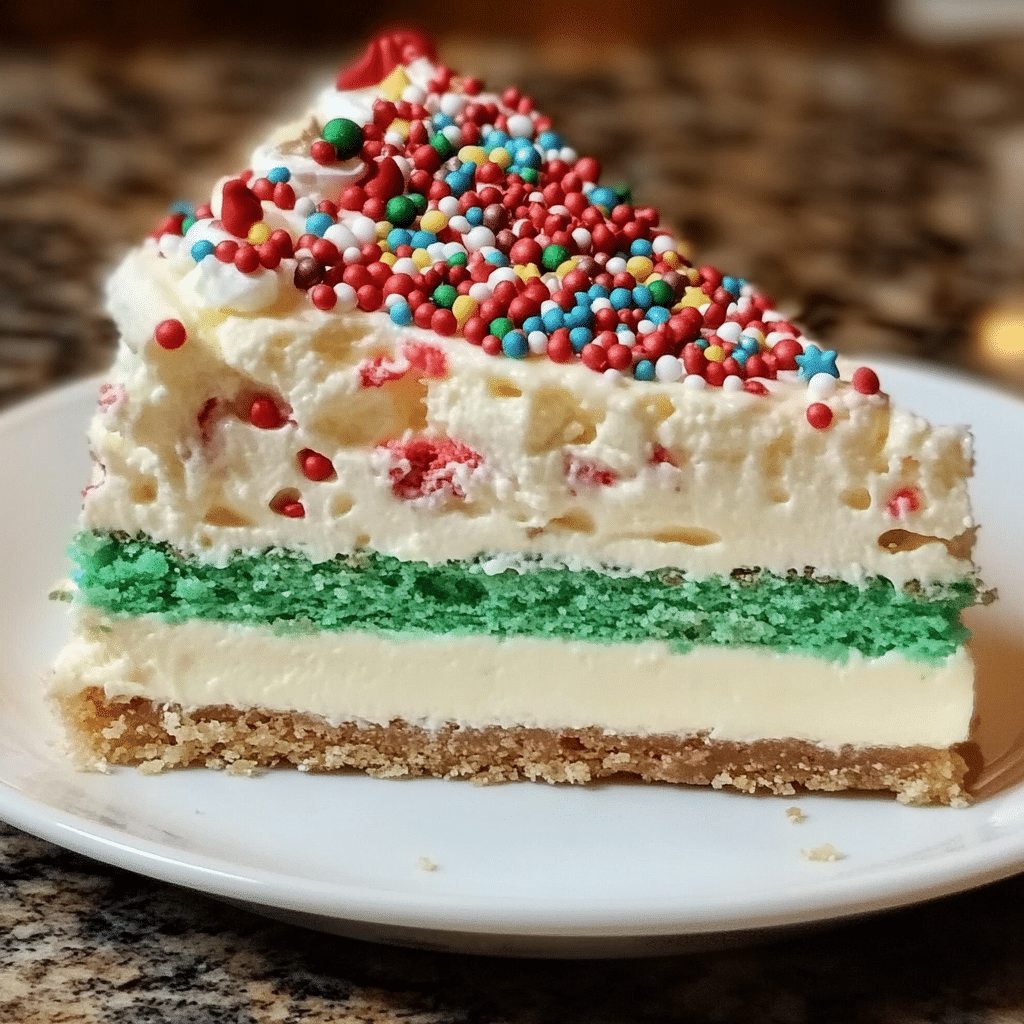
This Little Debbie Christmas Tree Cheesecake is everything you love about the iconic snack cake, with a cheesecake twist. Think creamy, tangy cheesecake filling nestled in a buttery graham cracker crust, topped with a swirl of white chocolate and finished off with a Little Debbie Christmas Tree Cake (because, why not go all-in on festive vibes?).
This recipe is perfect for holiday gatherings, cozy nights in, or just because you deserve something sweet. It’s surprisingly easy to make, and I promise it’ll be the showstopper of your holiday dessert spread. Plus, it’s a fun way to get the whole family involved in the kitchen. Whether you’re a seasoned baker or a newbie, this cheesecake is a guaranteed crowd-pleaser.
Now, grab your mixing bowl, preheat the oven, and let’s make some holiday magic!
Why You’ll Love This Recipe
- Super Easy to Make: Even though this cheesecake looks fancy, it’s surprisingly simple. The ingredients are straightforward, and the process is easy to follow.
- Festive and Fun: The Little Debbie Christmas Tree Cake on top is not just cute—it brings back so many nostalgic memories of childhood holidays.
- Cheesecake Meets Snack Cake: You’re basically getting the best of both worlds. The creamy, tangy cheesecake pairs beautifully with the sweet and sugary Little Debbie cake.
- Perfect for Any Holiday Party: Whether you’re hosting a Christmas dinner or a cookie exchange, this cheesecake will be the perfect centerpiece.
I first made this recipe a few years ago when I wanted to try something new for our family Christmas dessert. The Little Debbie Christmas Tree Cakes have always been a favorite, and I figured—why not incorporate them into a cheesecake? It was a hit from the very first bite, and since then, it’s become a holiday tradition in our household.
Preparation Time and Servings
- Total Time: 4 hours (including chilling time)
- Preparation Time: 20 minutes
- Cooking Time: 30 minutes
- Chill Time: 3 hours
- Servings: 12-16 slices (depending on how generous you are with portions)
Nutrition Facts
Calories per serving: 350
Protein: 5g
Carbs: 45g
Fat: 20g
(Specific nutrition facts may vary based on ingredients used.)
Ingredients
Here’s what you’ll need to make this festive cheesecake. I promise, the ingredients are simple, and many of them are things you might already have at home!
- For the Crust:
- 1 ½ cups graham cracker crumbs
- ¼ cup sugar
- 1/2 cup unsalted butter, melted
- Pinch of salt
- For the Cheesecake Filling:
- 3 (8 oz) packages cream cheese, softened
- 1 cup sour cream
- 1 cup granulated sugar
- 3 large eggs
- 2 teaspoons vanilla extract
- 1 tablespoon all-purpose flour
- ½ cup heavy cream
- For the Topping:
- 1 Little Debbie Christmas Tree Cake, cut into slices or small pieces
- ½ cup white chocolate chips (for drizzling)
- 1 tablespoon butter (for melting the chocolate)
- Sprinkles or festive decorations (optional)
Why These Ingredients Matter
- Cream Cheese: The star of any cheesecake! It gives that rich, creamy texture and flavor that makes the filling so indulgent.
- Sour Cream: Adds tanginess to balance the sweetness of the cheesecake and gives it that smooth, silky texture.
- Little Debbie Christmas Tree Cake: This is the key ingredient that brings the magic. The combination of cake, frosting, and sprinkles on top of the cheesecake is what makes this dessert so unique and fun!
- White Chocolate: A sweet, creamy drizzle on top of the cheesecake to complement the other flavors and add a bit of decadence.
Step-by-Step Instructions
Step 1: Preheat the Oven and Prep the Pan
Start by preheating your oven to 325°F (165°C). You want the oven nice and hot for the cheesecake, but not too hot to prevent cracking.
Prepare a 9-inch springform pan by lining the bottom with parchment paper and lightly greasing the sides with butter or non-stick spray. This ensures your cheesecake will come out of the pan without any drama!
Step 2: Make the Graham Cracker Crust
In a medium-sized mixing bowl, combine the graham cracker crumbs, sugar, melted butter, and a pinch of salt. Stir everything together until it looks like wet sand.
Next, press the mixture into the bottom of your prepared pan. Use the back of a spoon to firmly press it down into an even layer. This will form the base of your cheesecake.
Pop the crust into the oven and bake for 10 minutes. This helps the crust set and get a little golden, so it’s nice and sturdy for the cheesecake filling.
Step 3: Prepare the Cheesecake Filling
While the crust is baking, let’s get to work on the cheesecake filling. In a large mixing bowl, beat the softened cream cheese and sugar together with an electric mixer until it’s smooth and creamy—about 2-3 minutes.
Add in the sour cream and vanilla extract, mixing until everything is well incorporated. You’ll want the mixture to be silky smooth at this point. Then, add the eggs one at a time, mixing each in fully before adding the next. Don’t overmix here—just blend until smooth.
Once the eggs are mixed in, add the flour and heavy cream, and give it a final mix until everything is perfectly combined.
Step 4: Assemble and Bake the Cheesecake
Pour the cheesecake filling over the baked crust, smoothing the top with a spatula.
Place the cheesecake in the oven and bake for 30 minutes. It should be mostly set with a slight jiggle in the center—don’t worry, it’ll firm up as it cools. If you want to prevent any cracks from forming, you can turn off the oven and let the cheesecake cool in there with the door ajar for about 30 minutes.
After that, let the cheesecake cool completely at room temperature before placing it in the fridge to chill for at least 3 hours. Trust me, the chilling time is worth the wait.
Step 5: Prepare the Topping
Once the cheesecake has chilled, melt the white chocolate chips and butter together in a microwave-safe bowl. Microwave in 30-second intervals, stirring in between, until the chocolate is completely melted and smooth.
Take your Little Debbie Christmas Tree Cake and carefully cut it into small pieces or slices to place on top of the cheesecake.
Step 6: Decorate and Serve
Drizzle the melted white chocolate over the cheesecake in a swirl pattern. Then, arrange the Little Debbie Christmas Tree Cake pieces on top, and add any extra sprinkles or festive decorations you desire.
Slice up your cheesecake, serve it with a big smile, and enjoy every bite of this holiday indulgence!
How to Serve
This cheesecake is a showstopper all on its own, but here are a few ideas to elevate it even further:
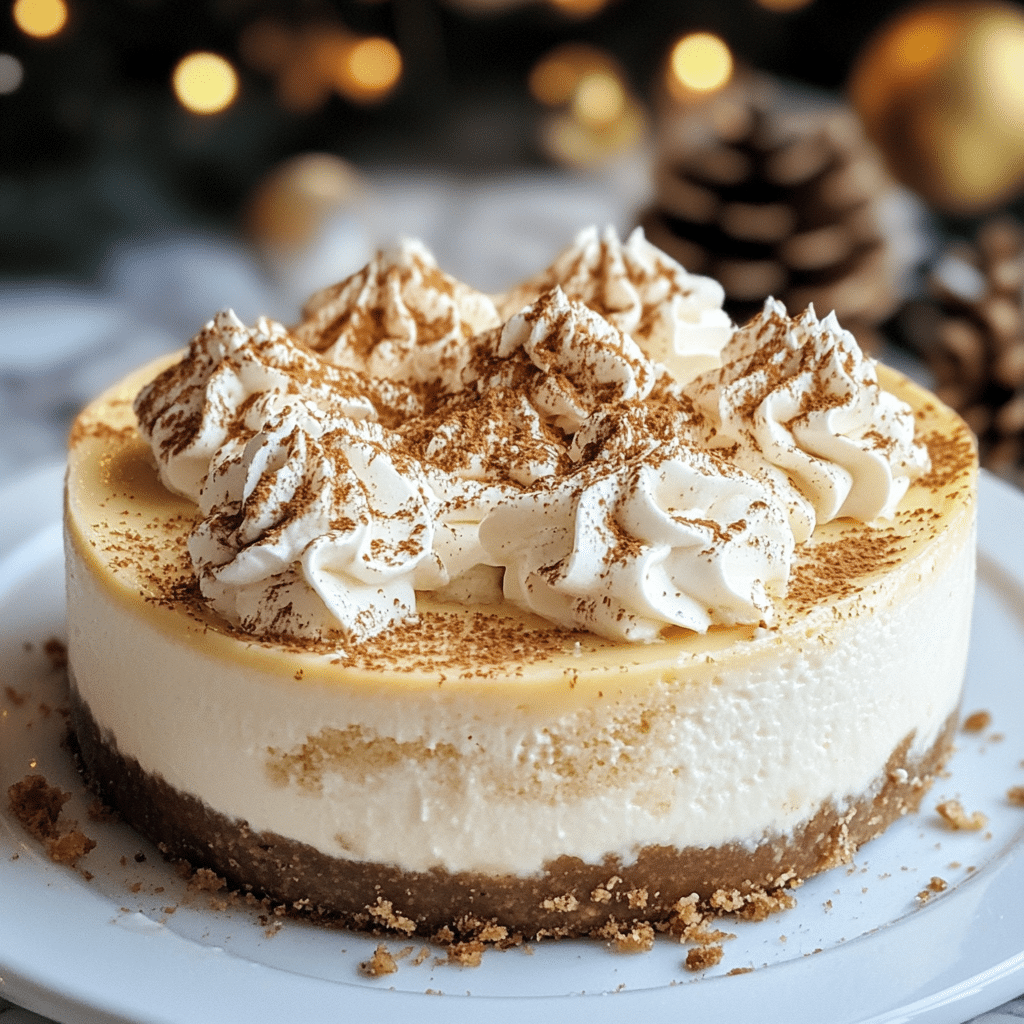
- Serve with Whipped Cream: Add a dollop of freshly whipped cream for a light, airy complement to the rich cheesecake.
- Pair with Hot Cocoa: This dessert is perfect for serving alongside a mug of hot chocolate. Add marshmallows or a cinnamon stick for extra flair.
- Side Salad: A light arugula salad with lemon vinaigrette could balance the richness of the cheesecake if you’re serving it after a heavy holiday meal.
Additional Tips
- Let It Chill: Don’t rush the chilling process. Letting the cheesecake rest in the fridge for at least 3 hours ensures it sets perfectly and slices neatly.
- Substitute Flavors: If you’re not a fan of white chocolate, feel free to drizzle dark or milk chocolate on top for a different flavor.
- Don’t Overmix: When combining the filling, don’t overmix after adding the eggs. This will keep the texture creamy and smooth without incorporating too much air.
Recipe Variations
- Gluten-Free Option: Swap out the graham crackers for gluten-free cookies or a gluten-free graham cracker alternative.
- Vegan Version: Try using dairy-free cream cheese and a plant-based sour cream to make this cheesecake vegan-friendly.
Freezing and Storage
If you have leftovers (and I’m not saying you will, but just in case!), you can store your cheesecake in an airtight container in the fridge for up to 3 days. You can also freeze individual slices for up to 2 months. Just wrap each slice tightly in plastic wrap before placing it in a freezer-safe container. To reheat, let it thaw in the fridge overnight.
Special Equipment
- Springform Pan: This will allow you to easily remove the cheesecake from the pan once it’s done.
- Electric Mixer: It makes mixing the cheesecake filling so much easier and quicker, especially when beating the cream cheese.
- Parchment Paper: Helps with easy removal of the cheesecake from the pan.
FAQ Section
Can I make this ahead?
Yes! You can prepare the cheesecake a day in advance and let it chill overnight. Just decorate it right before serving.
Can I use a different kind of cake?
Definitely! If you can’t find Little Debbie Christmas Tree Cakes, you can use any similar snack cakes or even homemade cake pieces.
What if I don’t have a springform pan?
If you don’t have a springform pan, you can use a regular cake pan, but it might be a little harder to remove the cheesecake. Just make sure to line the bottom with parchment paper.
Little Debbie Christmas Tree Cheesecake
- Total Time: 4 hours
Ingredients
- For the Crust:
- 1 ½ cups graham cracker crumbs
- ¼ cup sugar
- 1/2 cup unsalted butter, melted
- Pinch of salt
- For the Cheesecake Filling:
- 3 (8 oz) packages cream cheese, softened
- 1 cup sour cream
- 1 cup granulated sugar
- 3 large eggs
- 2 teaspoons vanilla extract
- 1 tablespoon all-purpose flour
- ½ cup heavy cream
- For the Topping:
- 1 Little Debbie Christmas Tree Cake, cut into slices or small pieces
- ½ cup white chocolate chips (for drizzling)
- 1 tablespoon butter (for melting the chocolate)
- Sprinkles or festive decorations (optional)
Instructions
Step 1: Preheat the Oven and Prep the Pan
Start by preheating your oven to 325°F (165°C). You want the oven nice and hot for the cheesecake, but not too hot to prevent cracking.
Prepare a 9-inch springform pan by lining the bottom with parchment paper and lightly greasing the sides with butter or non-stick spray. This ensures your cheesecake will come out of the pan without any drama!
Step 2: Make the Graham Cracker Crust
In a medium-sized mixing bowl, combine the graham cracker crumbs, sugar, melted butter, and a pinch of salt. Stir everything together until it looks like wet sand.
Next, press the mixture into the bottom of your prepared pan. Use the back of a spoon to firmly press it down into an even layer. This will form the base of your cheesecake.
Pop the crust into the oven and bake for 10 minutes. This helps the crust set and get a little golden, so it’s nice and sturdy for the cheesecake filling.
Step 3: Prepare the Cheesecake Filling
While the crust is baking, let’s get to work on the cheesecake filling. In a large mixing bowl, beat the softened cream cheese and sugar together with an electric mixer until it’s smooth and creamy—about 2-3 minutes.
Add in the sour cream and vanilla extract, mixing until everything is well incorporated. You’ll want the mixture to be silky smooth at this point. Then, add the eggs one at a time, mixing each in fully before adding the next. Don’t overmix here—just blend until smooth.
Once the eggs are mixed in, add the flour and heavy cream, and give it a final mix until everything is perfectly combined.
Step 4: Assemble and Bake the Cheesecake
Pour the cheesecake filling over the baked crust, smoothing the top with a spatula.
Place the cheesecake in the oven and bake for 30 minutes. It should be mostly set with a slight jiggle in the center—don’t worry, it’ll firm up as it cools. If you want to prevent any cracks from forming, you can turn off the oven and let the cheesecake cool in there with the door ajar for about 30 minutes.
After that, let the cheesecake cool completely at room temperature before placing it in the fridge to chill for at least 3 hours. Trust me, the chilling time is worth the wait.
Step 5: Prepare the Topping
Once the cheesecake has chilled, melt the white chocolate chips and butter together in a microwave-safe bowl. Microwave in 30-second intervals, stirring in between, until the chocolate is completely melted and smooth.
Take your Little Debbie Christmas Tree Cake and carefully cut it into small pieces or slices to place on top of the cheesecake.
Step 6: Decorate and Serve
Drizzle the melted white chocolate over the cheesecake in a swirl pattern. Then, arrange the Little Debbie Christmas Tree Cake pieces on top, and add any extra sprinkles or festive decorations you desire.
Slice up your cheesecake, serve it with a big smile, and enjoy every bite of this holiday indulgence!
- Prep Time: 20 minutes
- Cook Time: 30 minutes
Nutrition
- Serving Size: 16
- Calories: 350
- Fat: 20g
- Carbohydrates: 45g
- Protein: 5g
Conclusion
This Little Debbie Christmas Tree Cheesecake is the perfect holiday treat to bring to any party or gathering. It’s easy to make, full of nostalgic flavor, and guaranteed to impress your guests. I can’t wait for you to try it and see how much everyone loves it. Don’t forget to snap a photo and tag me—I’d love to see your festive creations!
Happy baking, and enjoy the holidays!

