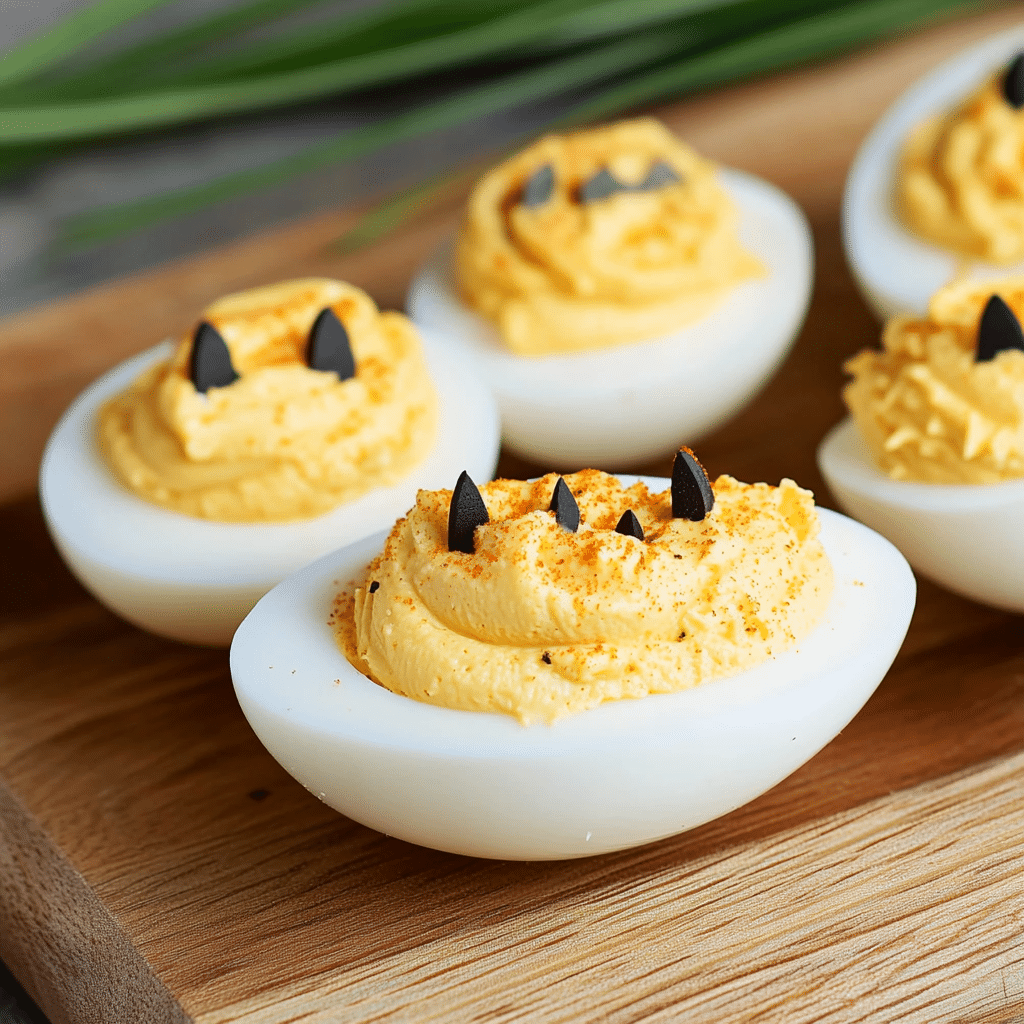
Halloween is the perfect time to unleash your creativity in the kitchen, and what better way to do that than with a spooky twist on a classic favorite? Deviled eggs are always a hit at parties, but when you turn them into ghoulish creations for Halloween, they become a must-have on your snack table. With just a few simple ingredients and a dash of imagination, you can transform these creamy, delicious bites into creepy eyeballs, spider nests, or even little jack-o’-lanterns. Trust me, they’re as fun to make as they are to eat!
If you’re hosting a Halloween party or looking for a festive appetizer, these Halloween deviled eggs are just the thing. Not only are they super easy to prepare, but they also add that extra spooky flair to your spread without a ton of extra work. Plus, kids and adults alike love them!
I first made these Halloween deviled eggs when I was hosting a small family gathering for Halloween, and they were a massive hit. The kids were thrilled to see “eyeballs” on their plates, and even the grown-ups couldn’t resist how fun and festive they looked. Ever since then, they’ve become a staple at every Halloween get-together. Whether you’re looking to delight a crowd or just want to get into the spooky spirit, this recipe is guaranteed to impress.
Why You’ll Love These Halloween Deviled Eggs
- Easy to Make: This recipe is simple enough for even beginner cooks, with just a few steps to create a fun and spooky presentation.
- Perfect for Parties: These eggs are bite-sized and portable, making them the ideal finger food for any Halloween gathering.
- Customizable: You can get as creative as you want with the decorations—spider web designs, creepy eyeballs, or even jack-o’-lantern faces.
- Healthy & Tasty: Deviled eggs are naturally high in protein and keto-friendly, making them a healthy snack that everyone can enjoy.
- Family-Friendly: The spooky decorations will intrigue the kids, but the familiar taste will keep everyone coming back for more.
These Halloween deviled eggs are the perfect combination of fun, spooky, and delicious. The creamy, tangy filling paired with the pop of flavor from Dijon mustard and paprika makes them irresistible. And with a few food colorings and garnish tricks, they’ll become the talk of the party!
Preparation Time and Servings
- Total Time: 30 minutes
- Servings: 12 deviled eggs (6 whole eggs)
- Calories per serving: 80
- Protein: 6g, Carbs: 1g, Fats: 7g
Ingredients
For the eggs:
- 6 large eggs
- 2-3 tablespoons mayonnaise (or Greek yogurt for a healthier option)
- 1 teaspoon Dijon mustard
- ½ teaspoon white vinegar or lemon juice
- Salt and pepper to taste
- 1/4 teaspoon paprika (optional for the filling)
For the decorations:
- Black olives (for spiders and eyeballs)
- Red or green food coloring (for “bloodshot” eyeballs)
- Chives or green onions (for “veins” or “stems”)
- Red bell pepper or carrot slices (for jack-o’-lantern faces)
- Edible black food marker (optional for drawing on faces)
Step-by-Step Instructions for Making Halloween Deviled Eggs
Step 1: Boil the Eggs
- Hard-boil the eggs: Place your eggs in a single layer in a large saucepan and cover with cold water. Bring the water to a rolling boil over medium-high heat. Once the water is boiling, cover the pan and remove it from heat. Let the eggs sit in the hot water for 10-12 minutes. This method will give you perfectly hard-boiled eggs every time.
- Cool the eggs: Once the eggs are cooked, transfer them to a bowl of ice water to stop the cooking process and make peeling easier. Let them sit in the ice bath for about 5 minutes.
- Peel the eggs: Gently tap each egg on a hard surface to crack the shell, then carefully peel it off.
Step 2: Prepare the Filling
- Halve the eggs: Once peeled, cut the eggs in half lengthwise. Scoop out the yolks and place them in a mixing bowl.
- Mash the yolks: Using a fork, mash the yolks until they are crumbly.
- Mix the filling: Add mayonnaise (or Greek yogurt), Dijon mustard, vinegar or lemon juice, salt, pepper, and paprika to the mashed yolks. Stir everything together until smooth and creamy. If the mixture is too thick, add a little more mayo or vinegar until you reach your desired consistency.
- Adjust seasonings: Taste the filling and adjust the seasoning as needed. You want it to be tangy, creamy, and perfectly seasoned.
Step 3: Assemble the Deviled Eggs
- Fill the egg whites: Using a spoon or a piping bag, fill the empty egg whites with the yolk mixture. If you don’t have a piping bag, you can use a plastic zip-top bag—just snip off one corner to pipe the filling in neat swirls.
- Get creative with decorations: Now comes the fun part—decorating the eggs! Here are a few ideas to get you started:
Creepy Eyeballs:
- Add an olive pupil: Place a black olive slice in the center of each filled egg to create the “pupil” of the eyeball.
- Draw veins: Use red food coloring and a toothpick to draw thin, bloodshot veins radiating from the olive. Alternatively, finely chop chives or green onions and use them as “veins” for a more realistic effect.
Spider Eggs:
- Create spider shapes: Cut black olives in half for the spider’s body, and slice additional olive halves into thin strips to form legs. Arrange these on top of the deviled eggs, so it looks like a creepy spider is sitting on your egg.
Jack-o’-Lantern Faces:
- Add facial features: Use thin slices of red bell pepper or carrots to create eyes, noses, and mouths, making your eggs look like mini jack-o’-lanterns.
- Add stems: Use a small piece of green onion or chive to mimic the stem at the top of the “pumpkin.”
Monster Eyes:
- Use color: Add a drop of green or purple food coloring to the yolk mixture to give your monster eyes a vibrant, creepy hue.
- Add details: Use black olives or sliced pickles for the pupil and chives for veins.
How to Serve
These Halloween deviled eggs are so versatile that you can serve them in a variety of ways:
- On a platter: Arrange your spooky deviled eggs on a Halloween-themed tray for an eye-catching display.
- With extra creepy flair: Place the eggs in a bed of lettuce, black beans, or even crumbled-up cookies to mimic “dirt” for an eerie presentation.
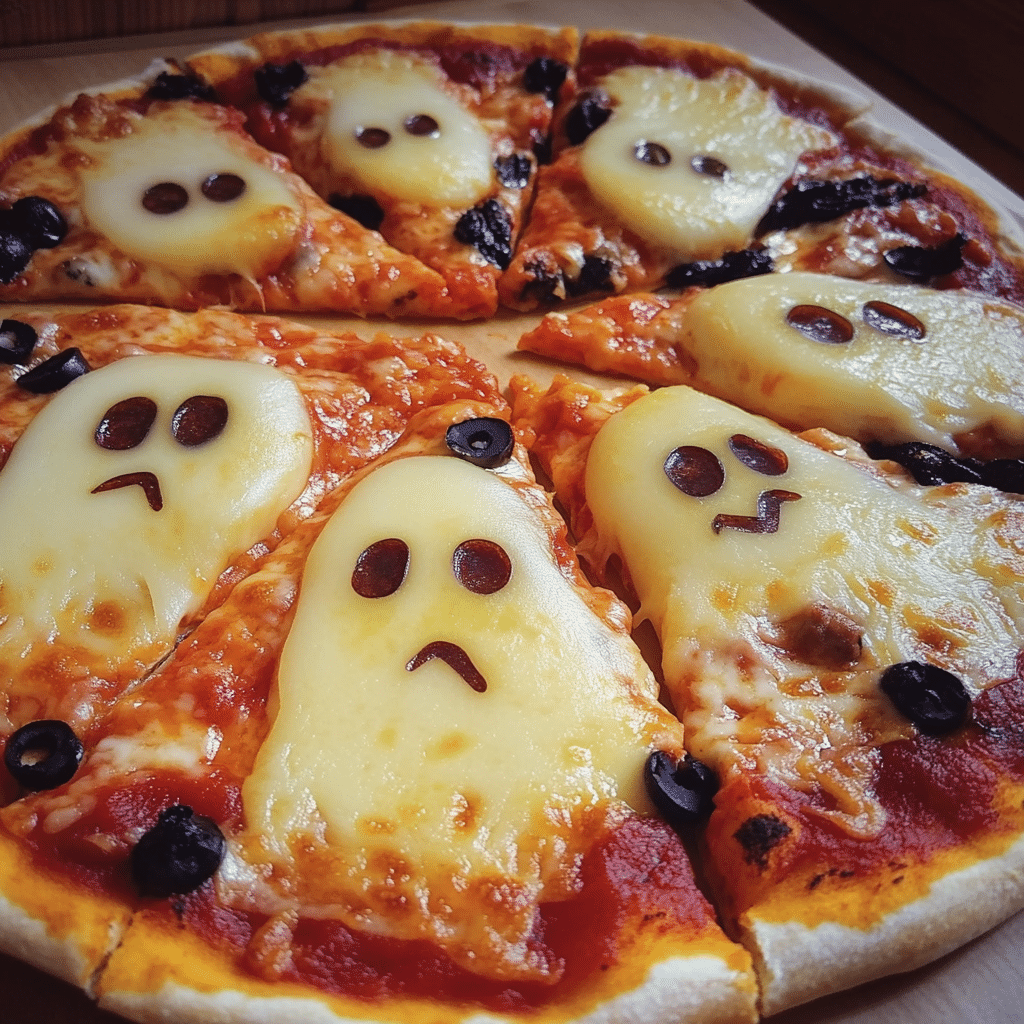
- As part of a spread: Pair these eggs with other Halloween snacks, like mummy hot dogs or ghost-shaped mini pizzas, for a complete spooky buffet.
Additional Tips
- Don’t overcook the eggs: Overcooked eggs can lead to a greenish yolk and a slightly sulfuric taste. Stick to the 10-12 minute mark for perfectly yellow yolks.
- Use fresh eggs: Fresh eggs are key to making deviled eggs taste their best. Check the expiration date when buying eggs, and try to use them within a week or two for optimal flavor and texture.
- Get creative with flavors: While this recipe calls for a classic yolk mixture, feel free to mix it up! You can add different ingredients to the filling, like sriracha for a spicy kick or avocado for extra creaminess.
- Make them ahead: These deviled eggs can be made a day in advance, which is great if you’re prepping for a party. Simply store them in an airtight container in the fridge until you’re ready to serve.
- Color the whites: If you want to go all out, you can dye the egg whites themselves using food coloring. Dip the whites in a mixture of water, vinegar, and food coloring to give them a spooky hue—think green for Frankenstein eggs or purple for witch eggs.
Recipe Variations
- Spicy Deviled Eggs: Add a teaspoon of sriracha or hot sauce to the filling for a devilishly spicy twist.
- Bacon Deviled Eggs: Top each egg with a small piece of turkey bacon for added crunch and flavor.
- Guacamole Deviled Eggs: Mix mashed avocado into the yolk filling for a creamy, green filling that’s perfect for monster eggs.
- Smoked Paprika Eggs: Add smoked paprika to the filling for a smoky, savory flavor that pairs well with the rich egg yolks.
Freezing and Storage
- Storage: Leftover deviled eggs can be stored in an airtight container in the fridge for up to 2 days. Place a sheet of plastic wrap directly on top of the eggs to prevent the filling from drying out.
- Freezing: Unfortunately, deviled eggs don’t freeze well due to the texture of the mayonnaise-based filling. It’s best to make these fresh or store them in the fridge for short-term enjoyment.
Special Equipment
- Piping bag: While optional, a piping bag will help you create beautifully swirled fillings, which are especially eye-catching for the Halloween theme.
- **Food coloring
**: For drawing veins or adding color to the yolk mixture, food coloring is a fun and easy tool to use.
- Toothpicks: Toothpicks are handy for creating detailed decorations like veins or spider legs from olives.
FAQ
Can I make the deviled eggs the night before?
Yes, you can prepare these eggs up to a day in advance. Store them in the fridge until you’re ready to serve.
What if I don’t have a piping bag?
No problem! Just use a plastic sandwich bag, snip off one corner, and use it to pipe the filling into the egg whites.
Can I use store-bought mayonnaise?
Absolutely! Store-bought mayo works perfectly for this recipe. You can also swap it for Greek yogurt for a lighter version.
Conclusion
These Halloween deviled eggs are sure to bring some festive fun to your party. With just a little bit of creativity, you can transform classic deviled eggs into spooky, crowd-pleasing treats. Whether you go for creepy eyeballs, spider-topped eggs, or adorable jack-o’-lanterns, these eggs will steal the show.
I can’t wait to see your ghoulish creations! If you make these Halloween deviled eggs, be sure to snap a picture and tag me on Instagram—I love seeing how you bring your spooky snacks to life!
Print
Halloween Deviled Eggs
- Total Time: 22 minutes
Description
I recently whipped up a batch of Halloween Deviled Eggs for a family get-together, and they were a spooky hit! What’s fun about this recipe is how easy it is to create a dish that’s both festive and flavorful. My family devoured them in no time, with my niece claiming she couldn’t stop eating them because of the “creepy but cute” design. The great thing is that despite the intricate appearance, these devilish delights are pretty simple to make, even for beginners. Whether you’re hosting a Halloween party or just want a fun and delicious snack, these eggs will definitely steal the show.
Ingredients
To make your Halloween Deviled Eggs extra spooky, here’s what you’ll need:
- 6 large eggs
- 3 tablespoons mayonnaise
- 1 teaspoon Dijon mustard
- 1 teaspoon apple cider vinegar
- Salt and pepper, to taste
- Red food coloring (or beet juice for a natural option)
- Black olives (for the “spider” decoration)
- Paprika (optional, for garnish)
Instructions
- Boil the eggs: Place the eggs in a pot of cold water. Bring to a boil and let them cook for about 10-12 minutes. Once done, transfer the eggs to an ice bath to cool completely.
- Peel and halve the eggs: Gently peel the eggs, cut them in half lengthwise, and scoop the yolks into a separate bowl.
- Prepare the filling: Mash the yolks with a fork, then mix in the mayonnaise, mustard, apple cider vinegar, salt, and pepper. Stir until the filling is smooth and creamy.
- Add food coloring: Add a few drops of red food coloring (or beet juice) to the filling, and mix until you achieve a spooky shade of orange or red.
- Fill the egg whites: Using a piping bag or spoon, fill the hollowed-out egg whites with the yolk mixture.
- Create the spiders: Slice the black olives in half. Place one half in the center of each egg as the spider’s body. Use the remaining olive pieces to create “legs” by cutting thin strips and arranging them around the body.
- Garnish and serve: For an extra touch, sprinkle some paprika on top for a little added flavor and visual appeal.
Notes
- Use fresh eggs: Older eggs can be harder to peel, so try to use fresh ones for the best results.
- Chill the eggs: After boiling, place the eggs in an ice bath to stop the cooking process and make peeling easier.
- Experiment with colors: If you don’t want to use food coloring, beet juice or turmeric can be natural alternatives.
- Piping perfection: If you don’t have a piping bag, you can simply snip the corner off a plastic sandwich bag and use that to fill the egg whites.
- Season to taste: Don’t forget to taste the filling and adjust the seasoning. You can always add a little more salt, pepper, or mustard for extra flavor.
- Prep Time: 10 minutes
- Cook Time: 12 minutes
Nutrition
- Serving Size: 2
- Calories: 90

