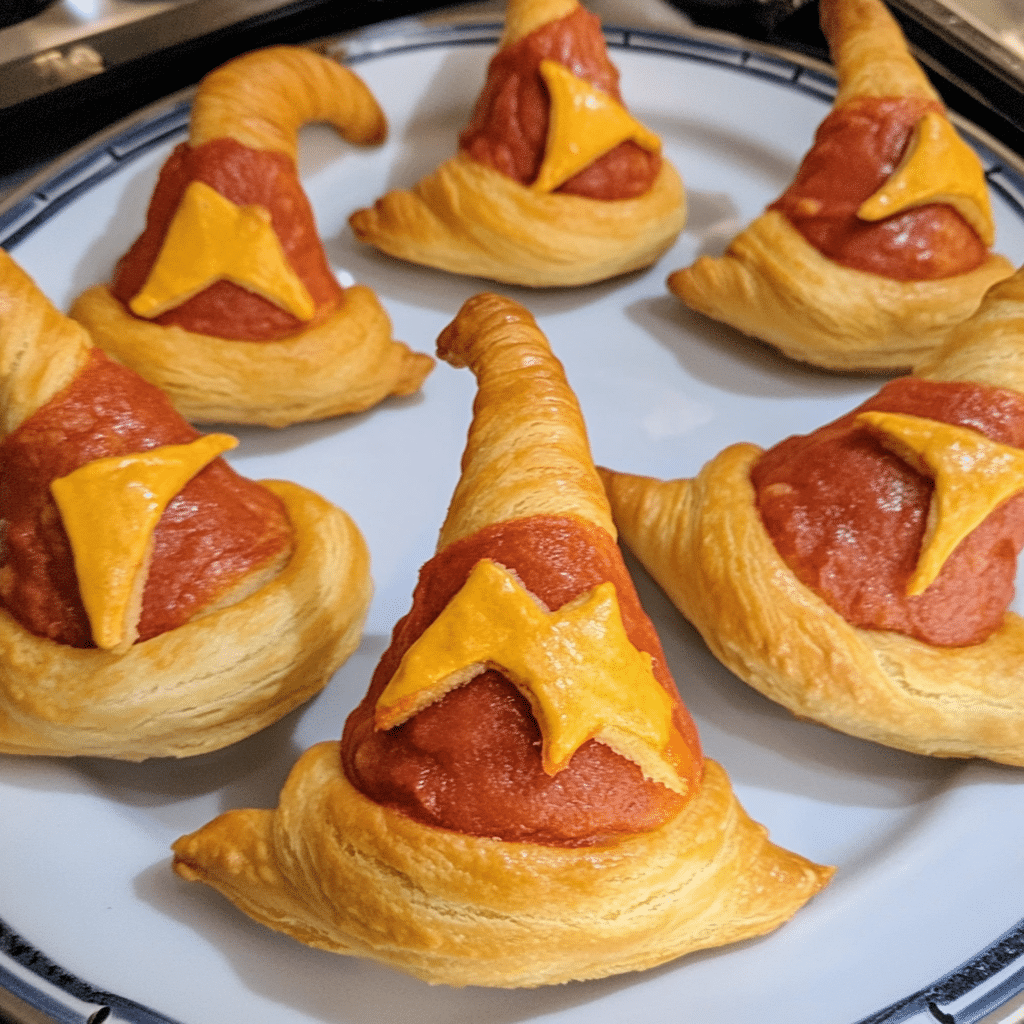
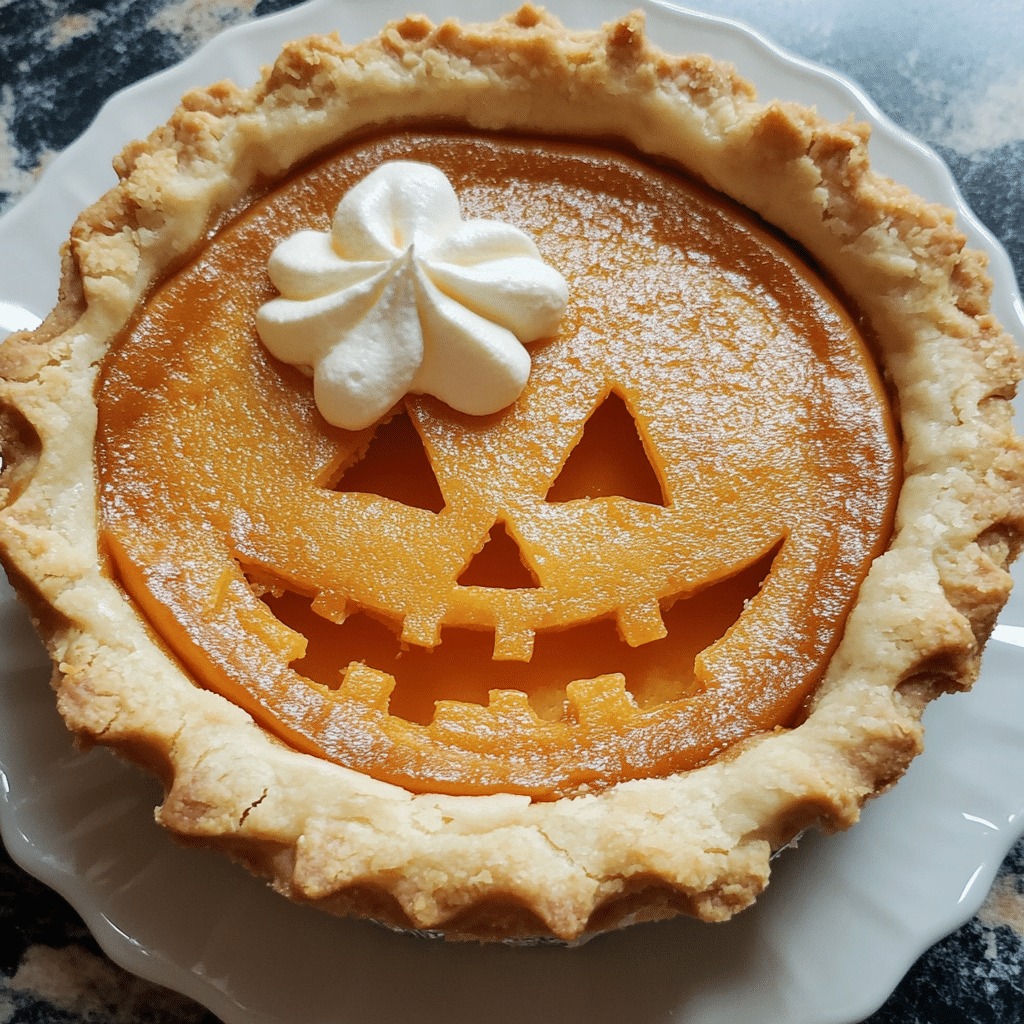
Looking for a fun, festive, and spooky snack that’s perfect for Halloween? These Crescent Roll Witch Hats are just the thing! They’re buttery, flaky crescent rolls shaped into cute little witch hats and filled with savory goodness, making them a perfect treat for Halloween parties, family gatherings, or even as a fun snack to make with the kids.
Not only are they super easy to make with just a handful of ingredients, but they’re also incredibly versatile. You can fill them with anything from gooey cheese and pepperoni to something sweet like chocolate or Nutella for a dessert version. Plus, the crescent roll dough makes for a light and fluffy pastry that’s as delicious as it is adorable.
I first made these Crescent Roll Witch Hats as a last-minute addition to a Halloween party and, let me tell you, they were a hit! The kids loved the playful shape, and the adults couldn’t get enough of the savory fillings. Now, it’s become a must-have treat every Halloween season. So whether you’re looking for a quick and easy Halloween-themed snack or just something fun to make with your family, these crescent roll witch hats are a spooky delight!
Why You’ll Love This Recipe
- Fun and festive: Perfect for Halloween parties or a themed movie night.
- Easy to make: With ready-made crescent roll dough, these witch hats come together in no time.
- Customizable fillings: You can go sweet or savory, depending on your preference, making them versatile for all tastes.
- Kid-friendly: This is a great recipe to get the kids involved in the kitchen. They’ll love helping shape and decorate the witch hats.
- Perfect party food: Bite-sized, delicious, and easy to serve—perfect for Halloween gatherings.
Preparation Time and Servings
- Total Time: 25 minutes
- Servings: 8 witch hats
- Calories per serving: 190 kcal
- Protein: 5g
- Carbs: 20g
- Fat: 10g
Ingredients
For the witch hats:
- 1 tube (8 oz) refrigerated crescent roll dough
- 4 oz cream cheese, softened
- ¼ cup shredded cheddar cheese
- 8 pepperoni slices (optional)
- 1 teaspoon garlic powder
- 1 tablespoon melted butter
- 1 tablespoon sesame seeds (for decoration)
For sweet witch hats (optional dessert version):
- ¼ cup Nutella or chocolate spread
- 1 tablespoon powdered sugar (for dusting)
Step-by-Step Instructions
Step 1: Preheat the Oven and Prepare the Dough
Start by preheating your oven to 375°F (190°C). Line a baking sheet with parchment paper or lightly grease it to prevent sticking.
Open the tube of crescent roll dough and separate it into 8 individual triangles. These will be the base of your witch hats. Place the triangles on the prepared baking sheet.
Step 2: Add the Filling
For the savory version, mix together the softened cream cheese, shredded cheddar cheese, and garlic powder in a small bowl until well combined. This cheesy filling adds a delicious, creamy texture inside the witch hats. If you’re using pepperoni, you can add one slice to the filling of each hat for a little extra flavor.
Take about 1 tablespoon of the cream cheese mixture and place it at the wider end of each crescent roll triangle. If you’re making the sweet version, simply add about 1 teaspoon of Nutella or chocolate spread at the base of each triangle instead of the cream cheese mixture.
Step 3: Shape the Witch Hats
Starting from the wide end where the filling is, carefully roll up each crescent roll triangle towards the point. Once rolled, gently bend the top of the roll to one side to form the crooked “hat” shape. Don’t worry about making it perfect—part of the charm of these witch hats is their playful, imperfect look!
Step 4: Brush with Butter and Decorate
For the savory witch hats, brush the tops of the crescent rolls with melted butter to give them a nice golden brown color as they bake. Sprinkle sesame seeds on top of each hat to add a little texture and decoration, mimicking the look of a witch’s hat brim.
If you’re making the sweet version, skip the butter and sesame seeds. Instead, you can dust them with powdered sugar after baking for a more dessert-like finish.
Step 5: Bake the Witch Hats
Place the baking sheet in the preheated oven and bake the witch hats for 10-12 minutes, or until they’re golden brown and fully cooked. Keep an eye on them so they don’t overbake—you want them light and flaky!
Once baked, remove the witch hats from the oven and let them cool slightly on the baking sheet before serving.
How to Serve
These Crescent Roll Witch Hats are best served warm, so the filling is nice and gooey. Here are a few ideas for how to serve them:
- For a savory snack: Serve with a side of marinara or ranch dressing for dipping.
- For a Halloween dessert: Dust the sweet version with powdered sugar and serve with a side of whipped cream or a drizzle of caramel sauce.
- Halloween party platter: Arrange the witch hats on a large platter with a mix of both savory and sweet versions for a fun and festive treat that’s sure to be a hit with both kids and adults.
Additional Tips
- Seal the edges well: When rolling the crescent rolls, make sure to pinch the seams closed to prevent the filling from leaking out during baking.
- Use different fillings: Get creative with the fillings! You can add pizza toppings like sausage or mushrooms for a more savory version or try using fruit preserves like strawberry or raspberry in the sweet version.
- Make ahead: If you’re planning a party, you can assemble the witch hats ahead of time and store them in the fridge until you’re ready to bake.
- Don’t skip the butter: Brushing the savory rolls with melted butter before baking ensures they come out perfectly golden and delicious.
- Shape carefully: Gently bending the tip of each roll will give it that classic “witch hat” look. You can adjust the shape after baking, too, if needed.
Recipe Variations
- Pizza Witch Hats: For a pizza-inspired version, replace the cream cheese filling with marinara sauce, mozzarella cheese, and pepperoni.
- Herbed Witch Hats: Add a mix of Italian seasoning or fresh herbs like rosemary and thyme to the cream cheese filling for a more sophisticated flavor.
- Sweet Cinnamon Sugar Witch Hats: For a dessert twist, brush the rolled dough with melted butter and sprinkle cinnamon sugar over the top before baking. Dust with powdered sugar after they come out of the oven.
Freezing and Storage
- Storage: Store leftover crescent roll witch hats in an airtight container at room temperature for up to 2 days. You can reheat them in the oven at 350°F for about 5-7 minutes to crisp them back up.
- Freezing: You can freeze unbaked witch hats by placing them on a baking sheet and freezing until solid, then transferring them to a freezer-safe bag. When you’re ready to bake, let them thaw in the fridge for a few hours before baking as directed.
Special Equipment
- Baking sheet: A standard baking sheet lined with parchment paper or greased to prevent sticking.
- Pastry brush: For brushing melted butter on top of the rolls (optional but recommended).
- Rolling pin (optional): If you want to stretch the crescent dough slightly for larger witch hats.
FAQ
- Can I make these witch hats without crescent roll dough?
Yes! You can use puff pastry dough as an alternative. Just cut it into triangles and roll them up in the same way. - What other fillings can I use?
Feel free to get creative with fillings. You can try a sweet cream cheese and fruit filling, Nutella and banana slices, or even savory options like ham and cheese. - Can I make these in advance?
Yes! You can assemble the witch hats ahead of time and store them in the fridge until you’re ready to bake. Just be sure to bake them within 24 hours for the best results. - Can I use a gluten-free dough?
Absolutely! You can find gluten-free crescent roll dough in most grocery stores and use it to make these witch hats. Just follow the same instructions for filling and baking.
Conclusion
These Crescent Roll Witch Hats are the perfect spooky snack for Halloween. With their buttery, flaky texture and customizable fillings, they’re sure to be a hit at any gathering. Whether you opt for a savory or sweet version, they’re fun to make and even more fun to eat! So get creative with your fillings, gather the kids to help shape the hats, and enjoy this deliciously festive treat. Don’t forget to share your spooky creations on social media—I’d love to see how your witch hats turn out! Enjoy!
Print
Crescent Roll Witch Hats
- Total Time: 22 minutes
Description
It was one of those cozy, crisp autumn afternoons when my family and I decided to bring some Halloween fun into the kitchen. We wanted something simple, festive, and, of course, delicious. Enter: Crescent Roll Witch Hats! They’re not just cute; they’re ridiculously easy to make and perfect for a spooky snack or party treat. I swear, these were a hit—especially with the kids! My little ones got a kick out of their witchy appearance, and, honestly, I loved how the warm, flaky crescents paired with the gooey cheese and pepperoni hidden inside. Halloween snacks just don’t get better than this!
Ingredients
- 1 can of crescent roll dough (8 rolls)
- 8 slices of pepperoni
- 4 mozzarella cheese sticks (cut in half)
- 1 egg (lightly beaten)
- Poppy seeds (optional for decoration)
- 8 black olives (cut into small rounds for the “buckle”)
- Mustard (for decorating, optional)
Instructions
- Preheat your oven to 375°F (190°C). Line a baking sheet with parchment paper or spray with non-stick cooking spray.
- Unroll the crescent roll dough and separate it into triangles.
- On the wide end of each triangle, place one slice of pepperoni and half of a mozzarella stick.
- Roll up the dough, starting from the wide end, forming a crescent shape. Pinch the ends slightly to give them a more pointed “witch hat” look.
- Brush each crescent with the lightly beaten egg to give them that golden, crispy finish.
- For extra spookiness, sprinkle poppy seeds over the hats to mimic a textured witch’s hat.
- Bake for 10-12 minutes, or until golden brown.
- Once baked, add a tiny piece of black olive to the middle of each crescent as a “buckle.”
- Optional: Use a small bit of mustard to create decorative designs on the hats if you’re feeling extra creative!
- Prep Time: 10 minutes
- Cook Time: 12 minutes
Nutrition
- Serving Size: 8
- Calories: 180

