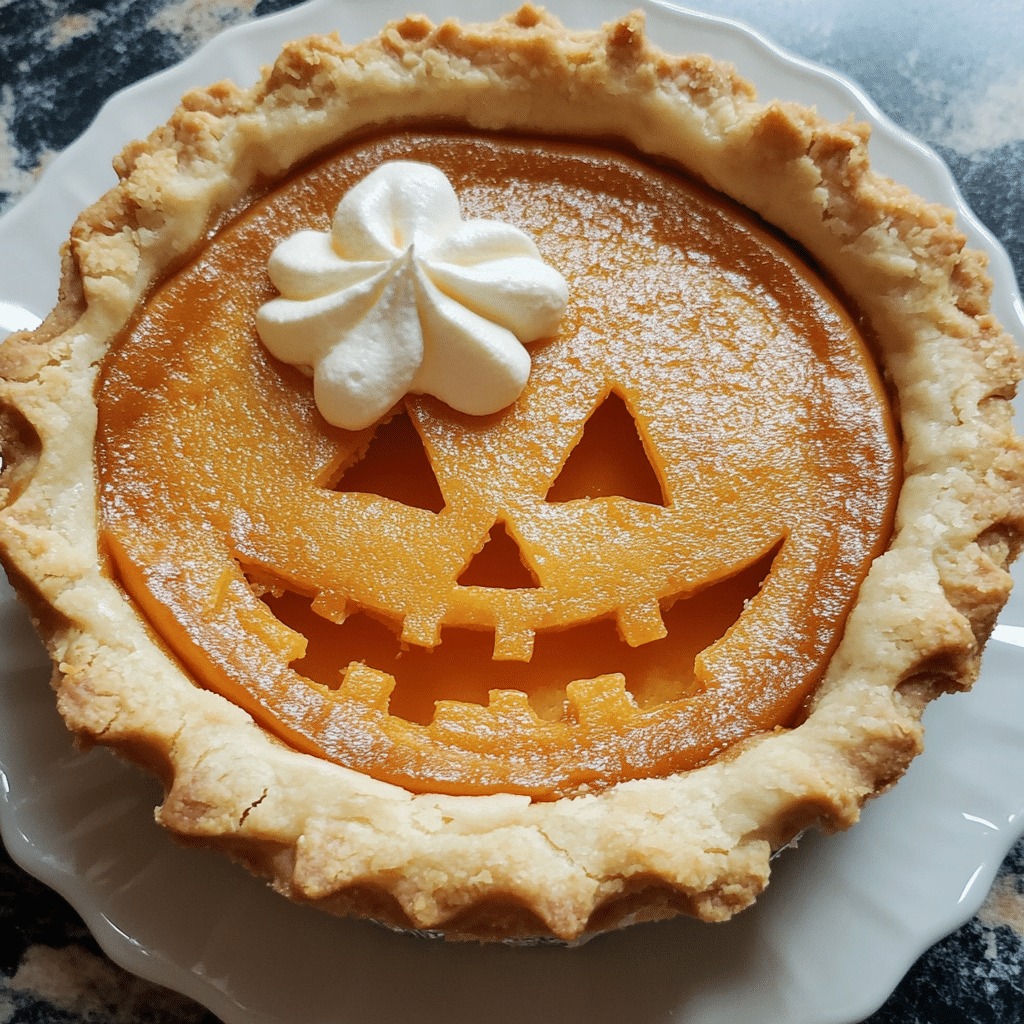
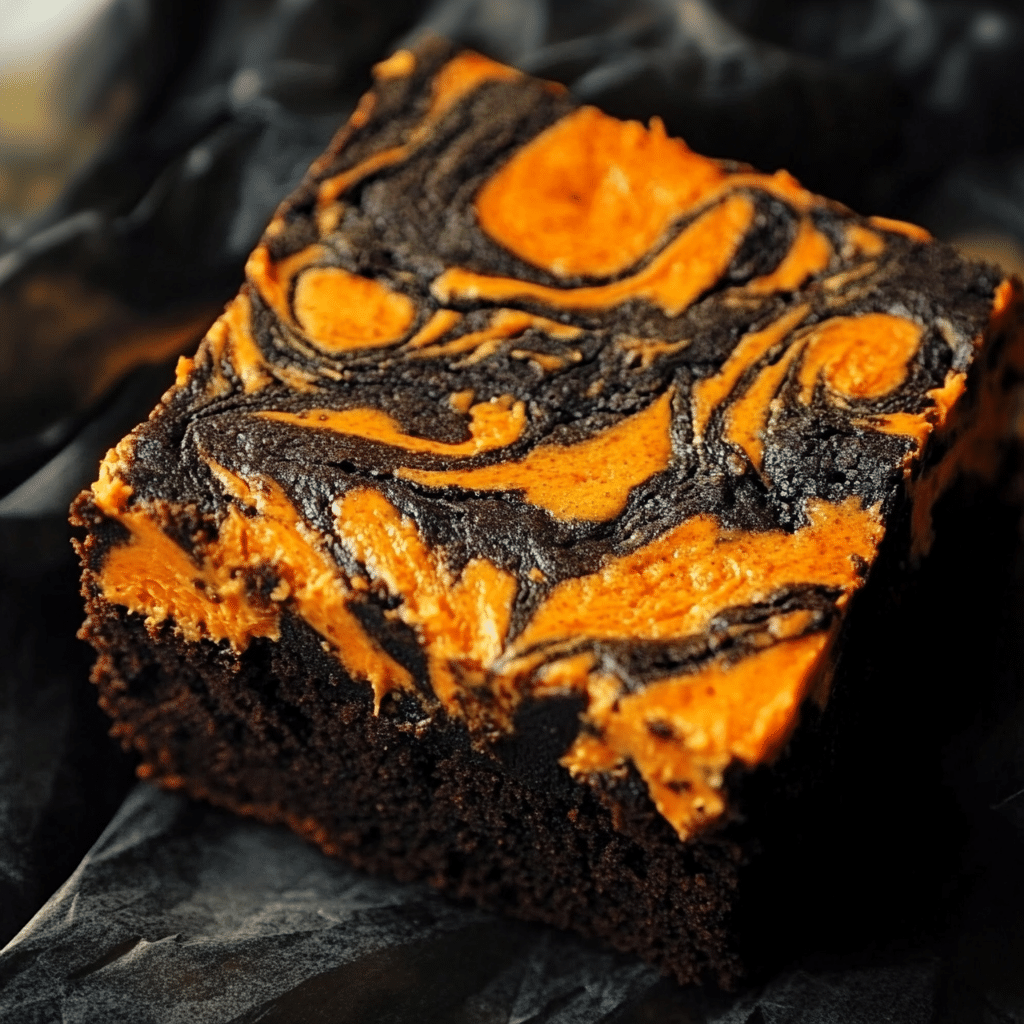
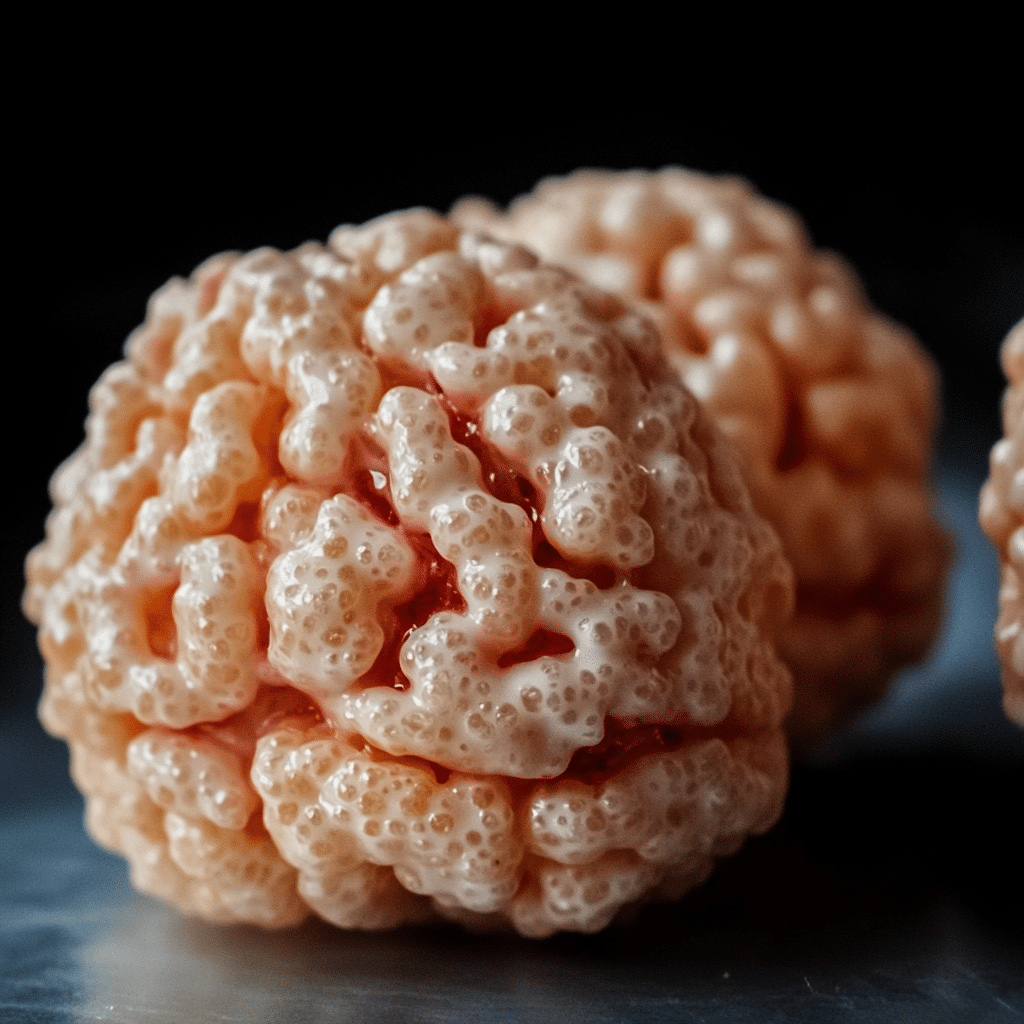
Halloween isn’t just for kids! If you’re hosting a grown-up Halloween party or just want to get into the spooky spirit with something indulgent, a Creepy Butter Pie might be just the trick (or treat!) you need. This rich, buttery dessert is elevated to Halloween-worthy status with some eerie decorations that will leave your guests both impressed and a little spooked. It’s the perfect blend of deliciously decadent flavors with a touch of the macabre—ideal for anyone looking to up their Halloween hosting game.
The beauty of a butter pie is in its simplicity. With a luscious, creamy filling and buttery crust, it’s already a winner. But when you add some eerie, creepy elements—think blood-red raspberry sauce, dark chocolate spider webs, or even edible eyeballs—it transforms into something that’s as fun to look at as it is to eat. Whether you’re a seasoned baker or just someone who loves Halloween, this pie is a fantastic option that’s sure to be the star of your spooky spread.
In this article, we’ll not only walk you through the steps of making a buttery, flaky pie but also offer creative, creepy decoration ideas that will make your dessert fit perfectly into an adult Halloween party. Think dark, moody colors, creepy crawlies made from chocolate, and unexpected flavor twists like salted caramel oozing from within.
Why You’ll Love This Recipe
- Rich, Decadent Flavors: This pie is buttery, sweet, and has a melt-in-your-mouth filling that is both comforting and indulgent. If you’re a fan of buttery desserts like shortbread or custard pies, you’ll fall in love with this.
- Halloween-Themed: We’re turning a classic butter pie into a Halloween masterpiece with some creepy yet delicious touches. From blood-red drizzles to spooky chocolate decorations, it’s a treat that’s just as fun as it is tasty.
- Perfect for Adults: Unlike many overly sweet Halloween treats aimed at kids, this dessert is rich and balanced, making it perfect for an adult palate. It pairs wonderfully with coffee, wine, or even a spooky-themed cocktail.
- Customizable: You can get as creative as you want with the decorations! Whether you want a simple spiderweb design or full-on gory details like edible eyeballs or “oozing” raspberry filling, the sky’s the limit.
- Wow Factor: Your guests will be impressed not only by how delicious this pie is but also by its spooky presentation. It’s the perfect showstopper for any Halloween party.
Preparation Time and Servings
- Prep Time: 30 minutes
- Cook Time: 50-60 minutes
- Total Time: 1.5 hours (plus time for cooling)
- Servings: 8-10 slices
Ingredients
For the Pie Crust:
- 1 ½ cups all-purpose flour
- ½ cup unsalted butter, cold and cubed
- 1 tbsp sugar
- ½ tsp salt
- 4-6 tbsp ice-cold water
For the Butter Pie Filling:
- 1 cup unsalted butter, melted
- 1 cup sugar
- 4 large eggs
- 1 tsp vanilla extract
- ½ cup heavy cream
- ½ tsp salt
- Optional: A pinch of nutmeg or cinnamon for extra warmth
For the Decorations:
- ½ cup raspberry sauce (for a “bloody” effect)
- ½ cup dark chocolate, melted (for spider webs or creepy designs)
- Edible eyeballs, gummy worms, or Halloween sprinkles for extra creepiness
Step-by-Step Instructions
1. Make the Pie Crust:
- Combine Dry Ingredients: In a large bowl, whisk together the flour, sugar, and salt.
- Cut in the Butter: Add the cold, cubed butter to the flour mixture. Using a pastry cutter or your hands, work the butter into the flour until the mixture resembles coarse crumbs. The key is to leave some pea-sized butter pieces, which will help make the crust flaky.
- Add Water: Slowly add the ice-cold water, one tablespoon at a time, mixing gently with a fork or your hands until the dough just comes together. You don’t want it to be too wet, but it should hold together when pressed.
- Chill the Dough: Form the dough into a disc, wrap it in plastic wrap, and chill in the fridge for at least 30 minutes.
- Roll and Fit the Dough: Once chilled, roll the dough out on a floured surface until it’s about ¼-inch thick. Transfer the dough to your pie dish, pressing it gently into the edges. Trim any excess dough around the edges, then crimp the edges with a fork or your fingers for a decorative look.
- Blind Bake: Preheat your oven to 375°F (190°C). Line the pie crust with parchment paper, fill it with pie weights or dried beans, and blind bake for 15 minutes. Remove the weights and bake for another 10 minutes, or until the crust is lightly golden. Set aside.
2. Make the Butter Filling:
- Melt the Butter: In a saucepan over medium heat, melt the butter. Let it cool slightly before using.
- Combine Wet Ingredients: In a mixing bowl, whisk together the eggs, sugar, vanilla extract, heavy cream, and salt until smooth.
- Add the Butter: Slowly whisk in the melted butter until the mixture is fully combined and smooth.
- Fill the Crust: Pour the butter mixture into the pre-baked pie crust. Smooth the top with a spatula.
- Bake: Bake the pie at 350°F (175°C) for 40-50 minutes, or until the filling is set and slightly golden on top. If the crust starts to brown too much, you can cover the edges with foil.
- Cool: Let the pie cool completely before decorating.
3. Creepy Halloween Decorations:
- Raspberry “Blood” Drizzle: Drizzle raspberry sauce over the cooled pie for a creepy, blood-like effect. You can let it pool in some areas or streak it across for a dramatic look.
- Chocolate Spider Webs: Melt dark chocolate and use a piping bag (or a plastic bag with the corner snipped off) to create spider web designs on top of the pie. Start by drawing a small circle in the center, then make concentric circles outward. Use a toothpick to drag lines from the center to the edges to create a web effect.
- Edible Eyeballs and Extras: Add edible eyeballs (you can find these at most baking supply stores) or gummy worms around the edges of the pie for an extra spooky touch. Halloween-themed sprinkles or candy can also be scattered around for added festivity.

How to Serve
- With Coffee or Tea: Serve this pie with a strong cup of coffee or a warm chai tea. The richness of the butter filling pairs beautifully with warm, cozy flavors.
- With a Halloween Cocktail: For an adult party, pair this dessert with a spooky-themed cocktail, like a black vodka martini or a blood orange margarita. The contrast between the buttery sweetness of the pie and the tang of the drink will have your guests coming back for more.
- As Part of a Dessert Table: Place the Creepy Butter Pie on a Halloween dessert table alongside other ghoulish treats like black cupcakes, meringue bones, or even savory items like cheese “fingers” for a stunning, creepy spread.
Additional Tips
- Prevent Cracking: To prevent the filling from cracking, avoid overbaking the pie. You want it to have a slight jiggle in the center when you take it out of the oven, as it will firm up as it cools.
- Make-Ahead: This pie can be made a day ahead and stored in the fridge. Just wait to add the decorations until the day of serving so they stay fresh.
- For Extra Flavors: You can add a layer of salted caramel or chocolate ganache at the bottom of the pie crust before pouring in the butter filling for an extra indulgent surprise.
- Crust Variations: For a spookier look, you could even dye the pie crust black using activated charcoal powder or black food coloring.
- Savory Twist: If you’re not a fan of sweet pies, you can adapt this recipe into a savory butter pie by incorporating roasted garlic, herbs, and a touch of cheese into the filling for a creepy, savory spin.
Recipe Variations
- Salted Caramel Creepy Butter Pie: Add a layer of salted caramel sauce between the pie crust and butter filling for an extra rich and decadent twist.
- Pumpkin Butter Pie: Incorporate some pumpkin puree and pumpkin pie spices into the butter filling for a seasonal spin on this dessert.
- Chocolate Butter Pie: Add melted chocolate to the butter mixture for a rich, chocolatey version of this pie. You could also use chocolate pie crust for an even more intense flavor.
- Bloody Cherry Butter Pie: Swap out the raspberry sauce for cherry sauce to create a gory, blood-like effect with a tart flavor.
Freezing and Storage
- Storage: The pie can be stored in the fridge for up to 3 days. Cover it loosely with plastic wrap or foil to keep it fresh.
- Freezing: You can freeze the butter pie for up to 2 months. To freeze, let the pie cool completely, then wrap it tightly in plastic wrap and aluminum foil. Thaw in the fridge overnight before serving. Wait to add any decorations until after the pie has thawed.
Special Equipment
- Piping Bag: For creating intricate chocolate decorations like spider webs or skulls, a piping bag will make the process much easier.
- Food Processor: If you want to make the pie crust quickly, a food processor will help cut the butter into the flour effortlessly.
- Baking Weights or Dried Beans: You’ll need these for blind-baking the crust.
FAQ Section
1. Can I make this pie without the crust?
- Yes, you can make a crustless butter pie by pouring the filling into a greased pie dish and baking as instructed. The filling will set just like a crustless custard.
2. What can I use instead of raspberry sauce?
- You can use cherry, strawberry, or even a rich chocolate sauce for a different spooky effect. Any red or dark sauce will work well for the “creepy” factor.
3. Can I use store-bought pie crust?
- Absolutely! If you’re short on time, a store-bought pie crust will work just fine. Just make sure to blind-bake it before adding the filling.
4. Can I make this gluten-free?
- Yes, simply use a gluten-free flour blend in the crust, or use a gluten-free graham cracker crust instead.
5. What can I substitute for heavy cream?
- If you need a dairy-free option, you can use full-fat coconut milk in place of the heavy cream.
Conclusion
There you have it—a deliciously decadent Creepy Butter Pie that will be the star of any Halloween gathering! This treat strikes the perfect balance between spooky and indulgent, with a buttery, melt-in-your-mouth filling and eerie decorations that are sure to impress. Whether you’re hosting a Halloween dinner party or just getting into the spooky spirit at home, this pie is a fantastic way to celebrate the season.
I can’t wait to see your spooky creations! Don’t forget to snap a photo and tag me on Instagram—I’m dying to see how your Creepy Butter Pie turned out! 🎃
Print
Creepy Halloween Food Ideas for Adults
- Total Time: 2 hours 30 minutes
Description
Last Halloween, I wanted to surprise my family with a dessert that wasn’t just your usual spooky cookies or cupcakes—something a little more sophisticated but still fun. I found this recipe for a Creepy Butter Pie, and let me tell you, it was an absolute hit! My family, who usually skips right over the dessert table to fill their plates with savory bites, couldn’t get enough of it. The buttery, rich texture paired with its subtly eerie design (think dark chocolate webs and blood-red raspberry drizzle) was the perfect combination of delicious and spooky. Even my aunt, who’s not big on sweets, was asking for seconds. It’s safe to say this will be a Halloween staple in our household from now on!
Ingredients
For the crust:
- 1 ½ cups graham cracker crumbs
- ¼ cup sugar
- ½ cup melted unsalted butter
For the butter filling:
- 1 cup unsalted butter, softened
- 1 cup powdered sugar
- 1 teaspoon vanilla extract
- ¼ teaspoon almond extract (optional for added flavor)
- 1 ¼ cups heavy whipping cream
For the spooky topping:
- ½ cup dark chocolate, melted
- ¼ cup fresh raspberries (for that “blood” effect)
- Powdered sugar for dusting
Instructions
-
Make the Crust: In a mixing bowl, combine the graham cracker crumbs, sugar, and melted butter. Press the mixture into the bottom and sides of a pie dish to create an even crust. Chill in the fridge for about 30 minutes to firm up.
-
Prepare the Butter Filling: Beat the softened butter and powdered sugar together in a large bowl until smooth and creamy. Add in the vanilla and almond extracts, mixing well. In a separate bowl, whip the heavy cream until stiff peaks form. Gently fold the whipped cream into the butter mixture until well combined. Pour the filling into the chilled crust and spread evenly.
-
Add the Spooky Touch: Drizzle the melted dark chocolate over the pie, creating a spooky web design. For an extra creepy look, squish the raspberries with a fork and scatter them on top to look like blood splatters.
-
Chill and Serve: Let the pie chill in the fridge for at least 2 hours before serving to allow the flavors to meld together. Just before serving, dust with powdered sugar for a ghostly finish.
Notes
- Use high-quality butter: Since butter is the star of this recipe, the better the butter, the richer and creamier your pie will taste.
- Chill the crust well: This step ensures the crust holds its shape and provides a firm base for the creamy filling.
- Don’t overmix the whipped cream: Overmixing can deflate your cream and make the pie filling less fluffy.
- Keep the decorations simple but spooky: A chocolate drizzle in the shape of a spider web is easy but effective.
- Make it ahead: This pie tastes even better the next day, so it’s great for preparing ahead of your Halloween festivities.
- Prep Time: 30 minutes
- Cook Time: 2 hours
Nutrition
- Serving Size: 8
- Calories: 480

