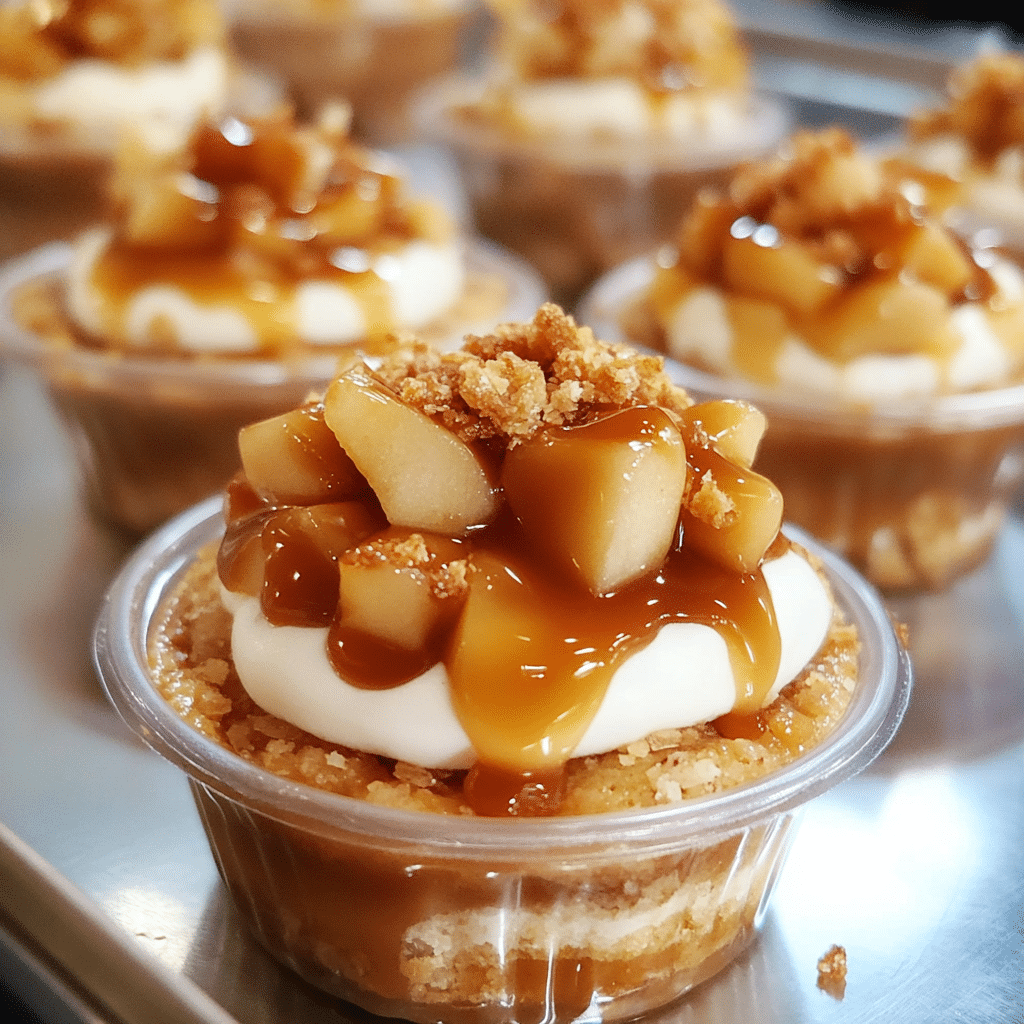
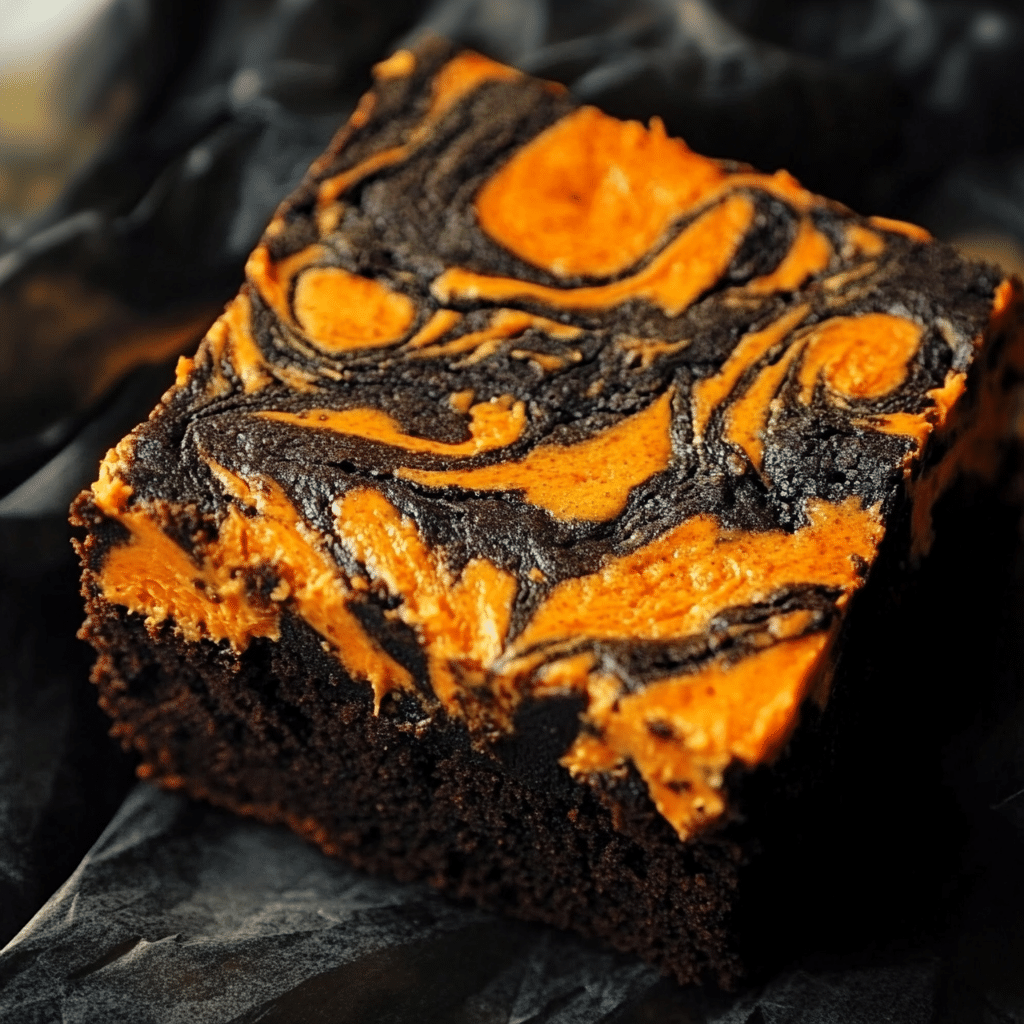
Caramel Apple Dessert Cups are the perfect fall treat! Imagine all the flavors of a classic caramel apple—sweet, juicy apples, gooey caramel sauce, and a hint of cinnamon—layered in a cute, individual-sized dessert cup. These no-bake cups are not only easy to make but also incredibly delicious. They bring together the warm, cozy essence of autumn, making them a great dessert for family gatherings, Halloween parties, or even Thanksgiving. Plus, they’re completely customizable, so you can switch up the layers and add your favorite toppings for a fun, creative dessert.
I first made these Caramel Apple Dessert Cups for a fall party, and they were an instant hit. They had everything I love about fall desserts in one cup: the caramel sauce, the spiced apples, and the crunchy graham cracker layer at the bottom. It was like a mini apple pie but way easier to make, and the presentation was beautiful. I love how these dessert cups let everyone have their own little portion, which makes them great for entertaining or cozy family nights.
Why You’ll Love This Recipe:
- No-bake: These dessert cups come together without the need to turn on the oven, which is perfect for busy days or warmer climates.
- Easy to assemble: With simple, pre-made ingredients like graham crackers and caramel sauce, these dessert cups take minimal effort to put together.
- Customizable: You can layer the ingredients however you like, adding whipped cream, nuts, or even chocolate for extra decadence.
- Perfect for fall: The combination of caramel, apples, and cinnamon makes this the ultimate fall dessert.
- Make-ahead: These dessert cups can be assembled ahead of time, making them perfect for parties or holiday gatherings.
Preparation Time and Servings:
Total Time: 30 minutes
Servings: 8 dessert cups
Calories per serving: 320
Protein: 2g
Carbs: 50g
Ingredients:
For the base:
- 1 1/2 cups graham cracker crumbs (about 10-12 full crackers)
- 4 tablespoons unsalted butter, melted
- 2 tablespoons granulated sugar
For the caramel apples:
- 4 medium apples (Granny Smith or Honeycrisp), peeled, cored, and diced
- 1 tablespoon butter
- 1/4 cup brown sugar
- 1 teaspoon cinnamon
- 1/4 teaspoon nutmeg (optional)
- Pinch of salt
- 1 teaspoon lemon juice (to prevent apples from browning)
For the caramel sauce:
- 1 cup caramel sauce (store-bought or homemade)
For the topping:
- Whipped cream (store-bought or homemade)
- Chopped nuts (optional)
- Extra caramel sauce for drizzling
Graham Cracker Crumbs: These create the base of the dessert cup and give it a little crunch, like a no-bake pie crust. You can use store-bought graham cracker crumbs or crush your own using a food processor.
Apples: Granny Smith or Honeycrisp apples work best because their tartness balances out the sweetness of the caramel. Diced apples are quickly cooked with sugar and spices to create a delicious caramel apple filling.
Caramel Sauce: Use your favorite store-bought caramel sauce for convenience, or make your own homemade caramel for an extra special touch.
Whipped Cream: Adds lightness and creaminess to balance out the richness of the caramel and apples. You can use store-bought whipped cream or make your own by whipping heavy cream with a little sugar.
Step-by-Step Instructions:
1. Prepare the graham cracker crust:
- In a small bowl, combine the graham cracker crumbs, melted butter, and granulated sugar. Stir until the crumbs are evenly coated and the mixture resembles wet sand.
- Divide the mixture evenly among your serving cups (you should have enough for about 8 cups). Press the mixture firmly into the bottom of each cup to create a compact crust. You can use the back of a spoon or the bottom of a glass to press it down. Set aside.
2. Cook the caramel apples:
- In a large skillet, melt the butter over medium heat. Add the diced apples, brown sugar, cinnamon, nutmeg, and a pinch of salt. Stir to coat the apples in the sugar and spices.
- Cook the apples for about 5-7 minutes, stirring occasionally, until they’re softened and caramelized. The apples should still hold their shape but be tender to the bite. Stir in the lemon juice to brighten up the flavors and help prevent browning.
- Remove the skillet from the heat and let the apples cool slightly.
3. Assemble the dessert cups:
- Once the apples have cooled slightly, layer about 2-3 tablespoons of the caramel apples on top of the graham cracker crust in each cup.
- Drizzle a spoonful of caramel sauce over the apple layer. You can be generous with the caramel if you love that gooey sweetness!
- Add another small layer of whipped cream on top of the caramel apples. You can pipe it in using a piping bag or simply spoon it on for a more rustic look.
4. Add toppings and serve:
- For a finishing touch, drizzle more caramel sauce over the whipped cream and sprinkle with chopped nuts if desired. Pecans or walnuts work great for added crunch and flavor.
- Serve the dessert cups immediately, or refrigerate them for up to 4 hours before serving. If making ahead, add the whipped cream and toppings just before serving to keep everything fresh.
How to Serve:
- These Caramel Apple Dessert Cups are best served chilled or at room temperature.
- They’re perfect as part of a fall dessert spread, alongside treats like pumpkin pie, apple crisp, or spiced cupcakes.
- If you’re hosting a gathering, consider setting up a dessert cup bar with various toppings like crushed cookies, caramel chips, or chocolate chips so guests can customize their own.
Additional Tips:
- Choose the right apples: Granny Smith apples work best in this recipe because their tartness balances the sweetness of the caramel. However, if you prefer a sweeter apple, you can use Honeycrisp, Fuji, or Gala.
- Don’t overcook the apples: Cook the apples just until they’re soft but still hold their shape. Overcooking them will result in mushy apples, and you want them to retain some texture for the dessert cups.
- Chill the dessert cups: If you’re making these ahead of time, cover the assembled cups with plastic wrap and refrigerate them for up to 4 hours. This will allow the flavors to meld together beautifully.
- Make your own caramel sauce: If you want to make the dessert even more special, try making your own homemade caramel sauce. It’s surprisingly simple and adds a rich, buttery flavor to the dessert cups.
Recipe Variations:
- Salted Caramel: Add a pinch of sea salt to the caramel sauce or sprinkle flaky sea salt on top of the dessert cups for a delicious sweet-and-salty contrast.
- Apple Pie Crumble: Instead of a graham cracker base, you can create a crumble topping by mixing together oats, flour, butter, and brown sugar, and toasting it until golden brown. Sprinkle this crumble on top of the whipped cream for a crunchier texture.
- Boozy Caramel Apple Cups: For an adult version, stir in a tablespoon of bourbon or spiced rum into the cooked apples or the caramel sauce for a delicious boozy twist.
- Cheesecake Layer: Add a layer of no-bake cheesecake filling (cream cheese mixed with powdered sugar and vanilla) between the graham cracker crust and the caramel apples for a rich and creamy addition.
Serving Suggestions:
- Fall gatherings: These Caramel Apple Dessert Cups are perfect for serving at fall parties, potlucks, or Thanksgiving. They’re portable, easy to eat, and can be customized to suit your guests’ preferences.
- Halloween parties: Add a fun, spooky twist by topping each dessert cup with Halloween sprinkles, candy eyeballs, or a drizzle of chocolate syrup for a festive look.
- Pair with hot drinks: Serve these dessert cups alongside a warm beverage like apple cider, pumpkin spice lattes, or hot chocolate to complete your fall dessert experience.
Freezing and Storage:
- Storage: You can assemble the dessert cups ahead of time (without the whipped cream) and store them in the refrigerator for up to 4 hours. Add the whipped cream and toppings just before serving for the freshest result.
- Freezing: While the dessert cups are best enjoyed fresh, you can freeze the graham cracker base and caramel apple mixture separately. Assemble them after thawing when ready to serve. Be sure not to freeze the whipped cream, as it will lose its texture when thawed.
Special Equipment:
- Small dessert cups: You can use glass or plastic dessert cups, small mason jars, or even shot glasses for a more elegant presentation. Clear cups work best to show off the beautiful layers.
- Piping bag: If you want to add a neat swirl of whipped cream, use a piping bag fitted with a large star tip. Alternatively, you can use a zip-top bag with the corner snipped off to pipe the whipped cream onto each cup.
FAQ:
- Can I make these dessert cups ahead of time? Yes! You can prepare the graham cracker crust and caramel apples ahead of time and refrigerate them. Just wait to add the whipped cream and toppings until right before serving to keep everything fresh.
- Can I use store-bought caramel sauce? Absolutely! Store-bought caramel sauce is a great time-saver and works perfectly in this recipe. If you have extra time and want to make it even more special, you can whip up your own homemade caramel sauce.
- Can I make these dairy-free? Yes! Substitute dairy-free butter for the graham cracker base and use a non-dairy caramel sauce. For the whipped cream, you can use coconut whipped cream, which adds a delicious flavor and is completely dairy-free.
- What if I don’t have graham crackers? No problem! You can use crushed digestive biscuits, vanilla wafers, or even ginger snaps as the base. All of these alternatives will add a slightly different flavor but will still be delicious.
- Can I add other fruits? While apples are the star of this dessert, you can certainly add other fall fruits like pears or even mix in some cranberries for a tart contrast.
Conclusion:
Caramel Apple Dessert Cups are a fun, easy, and irresistibly delicious way to enjoy the flavors of fall. With layers of buttery graham cracker crust, spiced caramel apples, and creamy whipped topping, these no-bake dessert cups bring all the warmth and coziness of autumn into every bite. Whether you’re serving them at a fall gathering, Halloween party, or just as a treat for your family, they’re guaranteed to be a hit. Plus, they’re incredibly versatile—you can switch up the ingredients, add different toppings, or even create a boozy version for the adults! I can’t wait for you to try them, and don’t forget to share your creations and tag me on social media! 🍎🍁
Print
Caramel Apple Dessert Cups
- Total Time: 35 minutes
Description
There’s something about caramel apples that brings me right back to crisp fall days and fun fairs. But let’s be honest—while they’re nostalgic, they’re not always the easiest or neatest treat to eat. That’s why I love these Caramel Apple Dessert Cups. They take everything you adore about caramel apples—the sweet crunch, the buttery caramel—but package it all in a neat little cup that’s a delight to serve at any gathering. The first time I made these, my family gobbled them up before I could even blink! The combination of tart apples, gooey caramel, and a soft pastry base? Total hit. Now, it’s a request every fall.
Ingredients
- 1 sheet of puff pastry, thawed
- 2 medium apples, peeled, cored, and diced (I love using Granny Smith for that tart contrast)
- ¼ cup granulated sugar
- ½ tsp ground cinnamon
- 2 tbsp butter
- ½ cup caramel sauce (store-bought or homemade)
- Optional: Chopped pecans or walnuts for topping
Instructions
- Preheat the Oven: Set your oven to 375°F (190°C).
- Prepare the Pastry Cups: Roll out the puff pastry sheet and cut it into 12 equal squares. Place the squares into a greased muffin tin, pressing them gently to form little cups. Bake for 10-12 minutes or until the pastry is golden and puffed up. Remove from the oven and let them cool.
- Cook the Apples: In a skillet, melt the butter over medium heat. Add the diced apples, sugar, and cinnamon. Stir and cook for about 8-10 minutes, until the apples are softened and slightly caramelized.
- Assemble the Cups: Once the pastry cups have cooled, spoon the cooked apples into each cup. Drizzle with caramel sauce and sprinkle with chopped nuts if desired.
- Serve Warm: Enjoy these cups warm for the best experience! They can also be served at room temperature, but I find that slight warmth really enhances the flavors.
- Prep Time: 15 minutes
- Cook Time: 20 minutes
Nutrition
- Serving Size: 12
- Calories: 210

